Style Your Mantel for the Holidays

Dressing up your mantle for any season can be really tricky especially with Christmas because of all the different options, textures and colors available. Here are a few simple tips to stage your mantle for the holidays with multiple pieces without it looking overwhelming and cluttered.

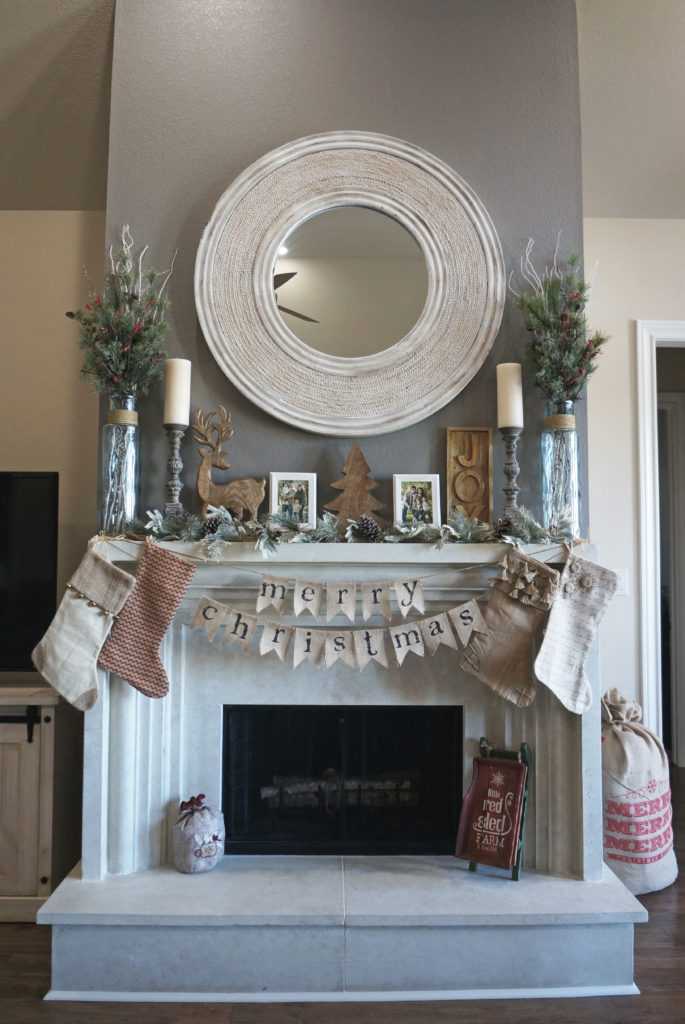
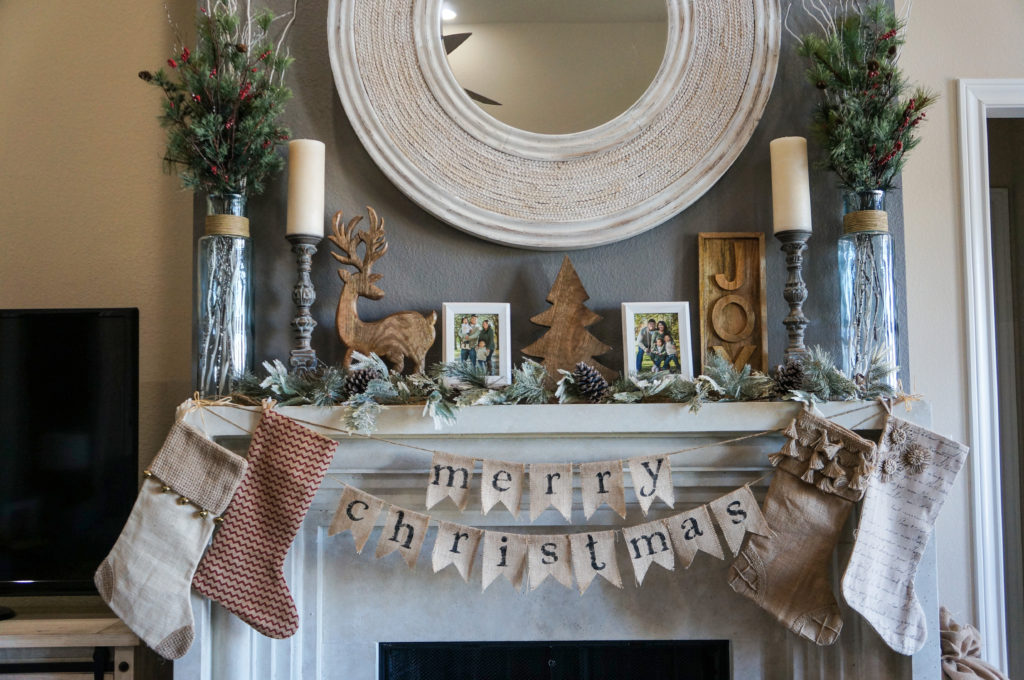
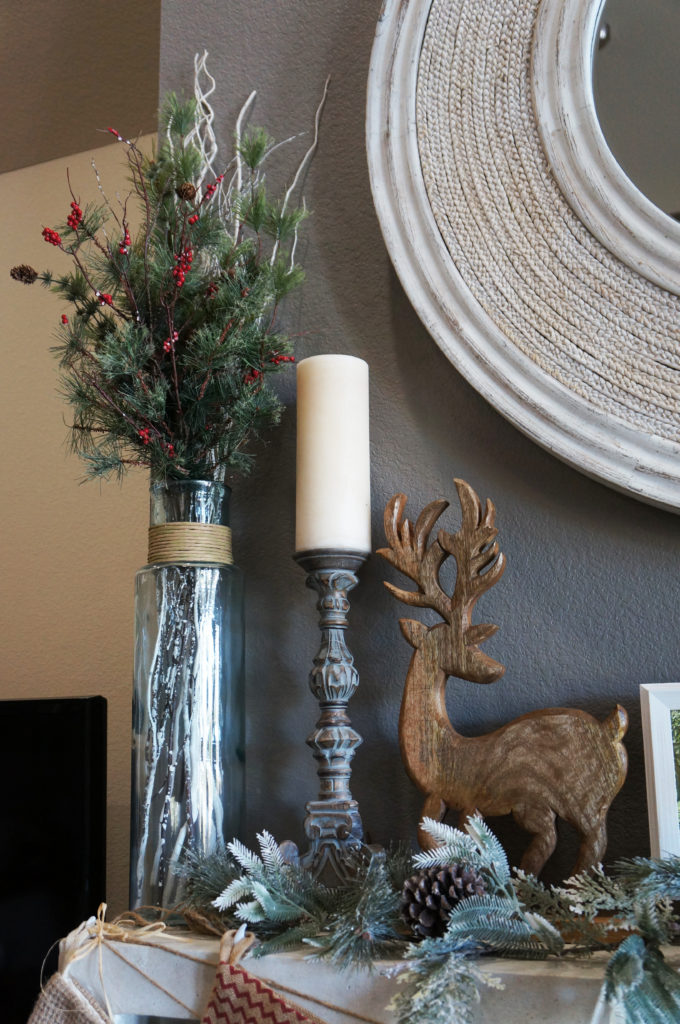
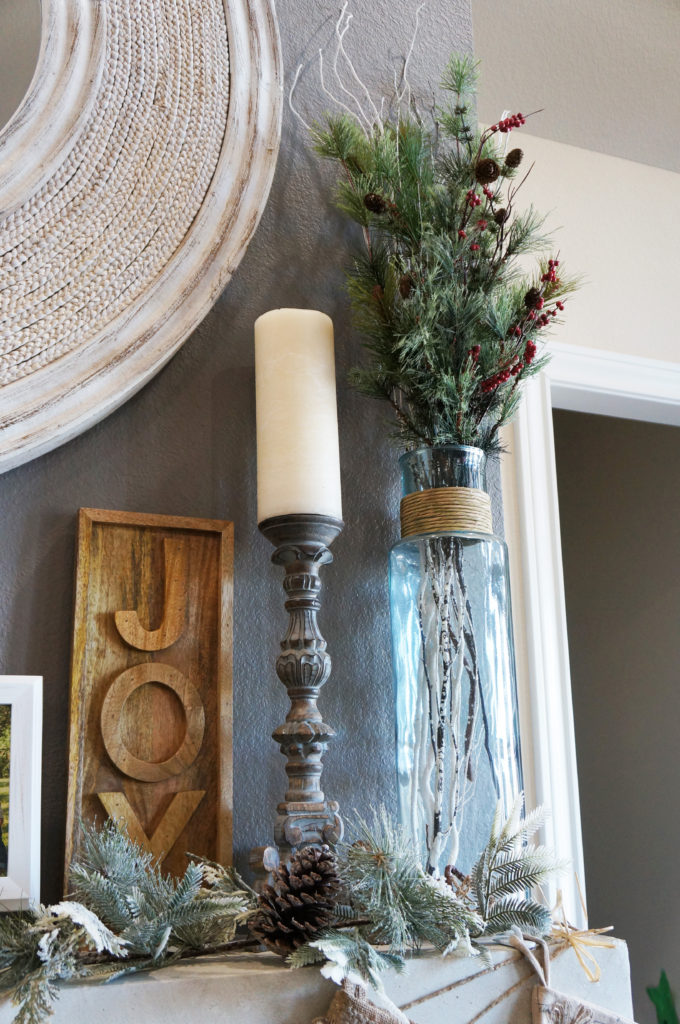
Use one large object with an arrangement of smaller pieces to create a focal point and still have a sense of balance throughout the space. By centering a large mirror in the middle of the mantle, it visually draws the eyes to the space. You can also use a large clock, artwork, windowpane or any large item.

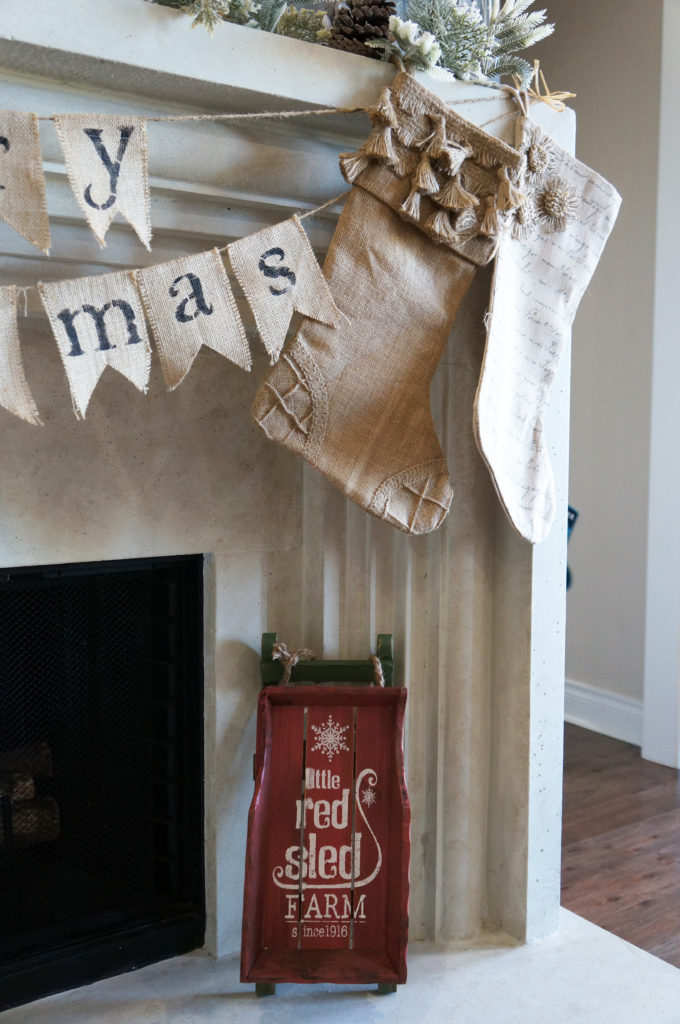
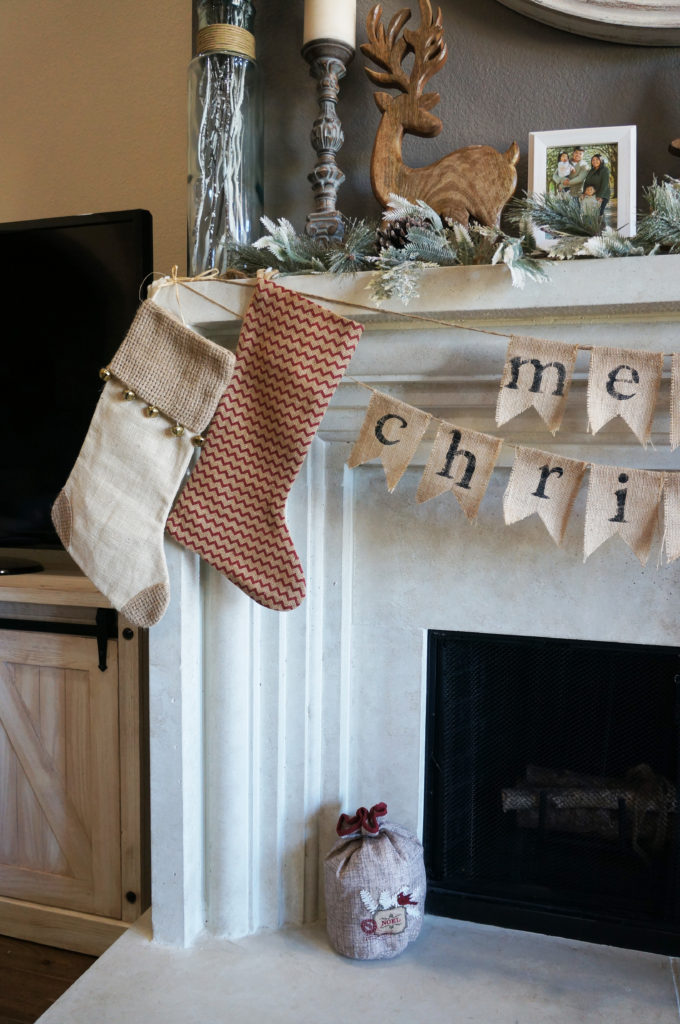
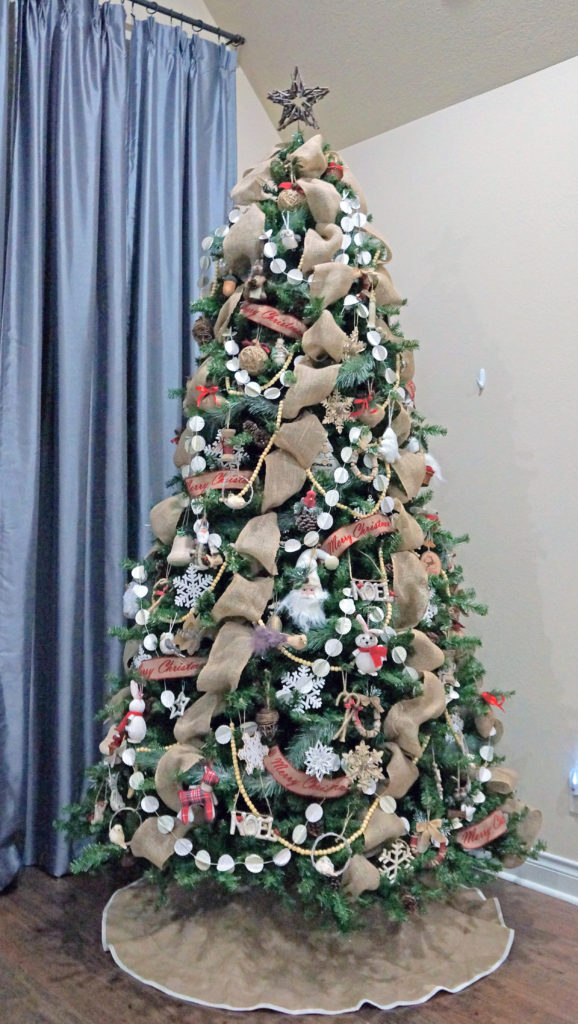
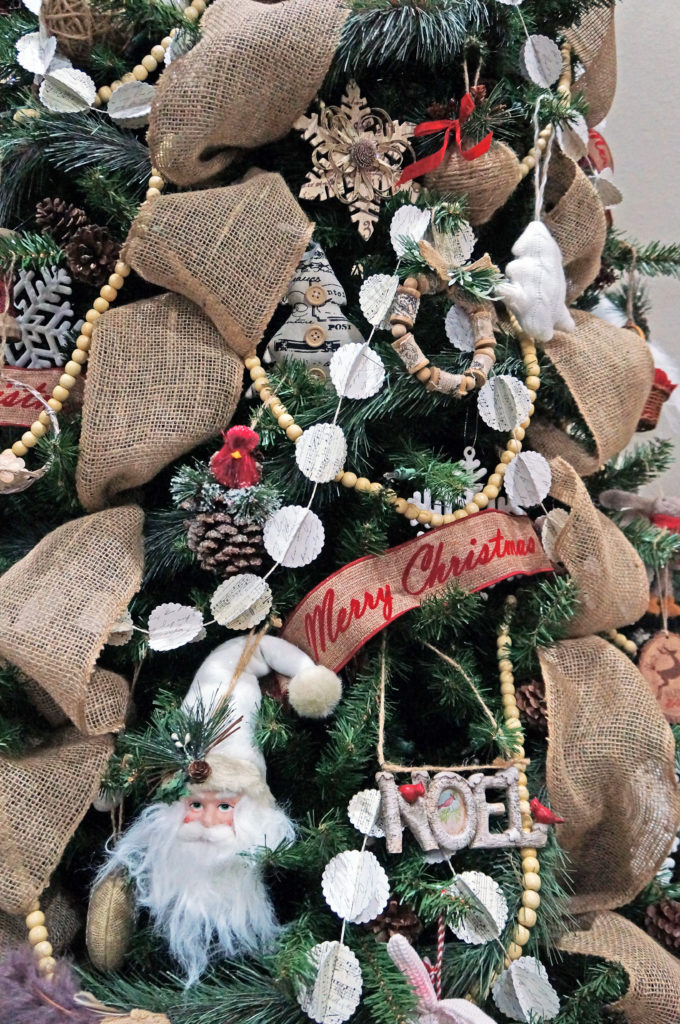
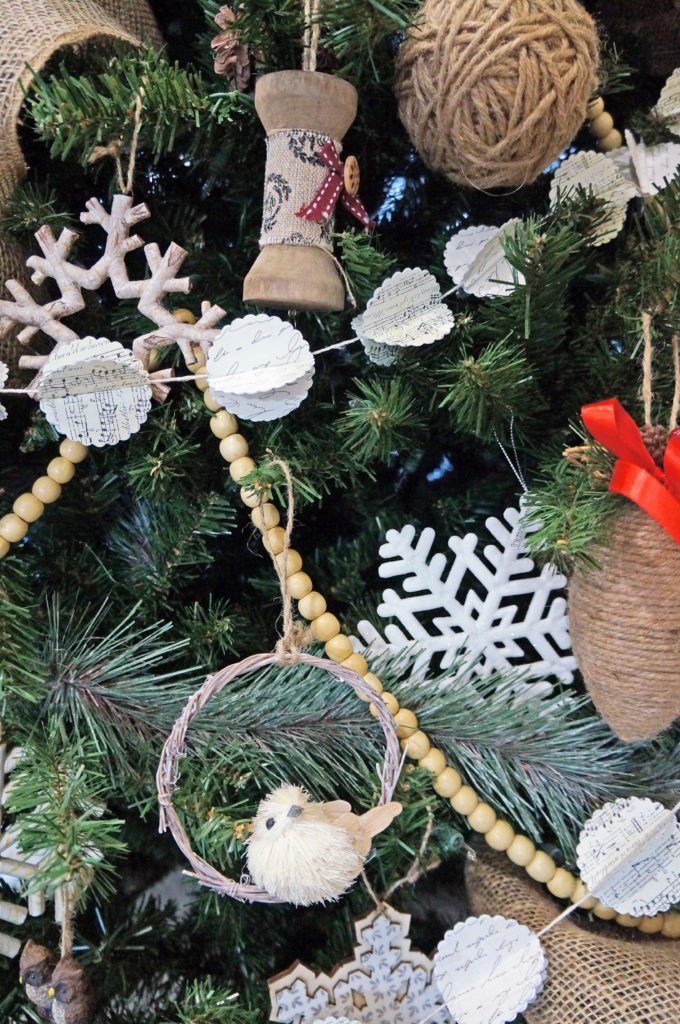
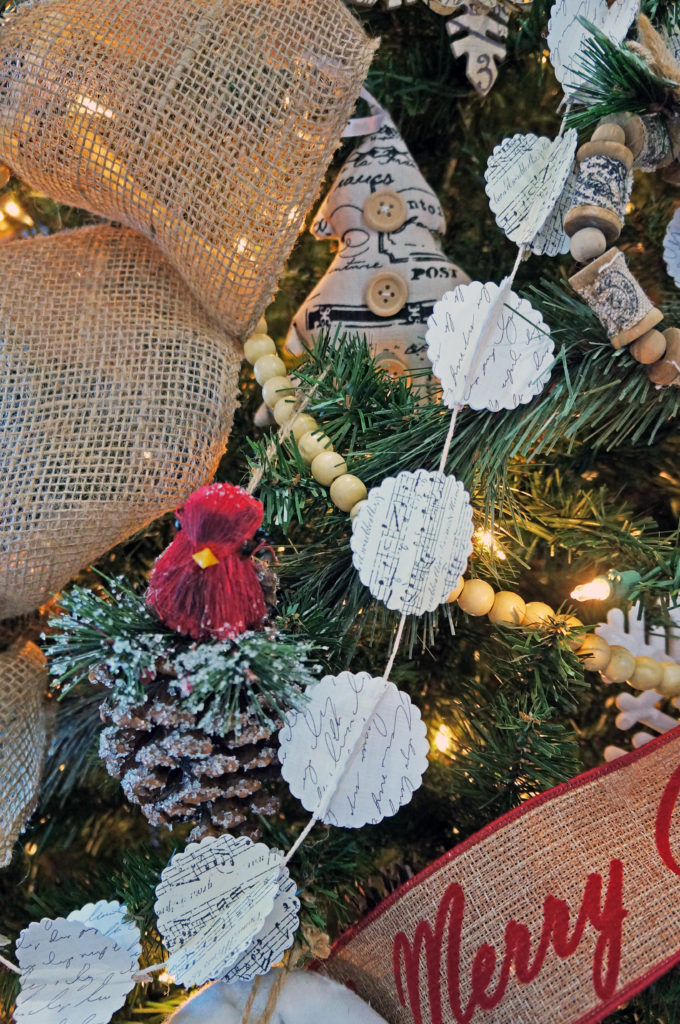
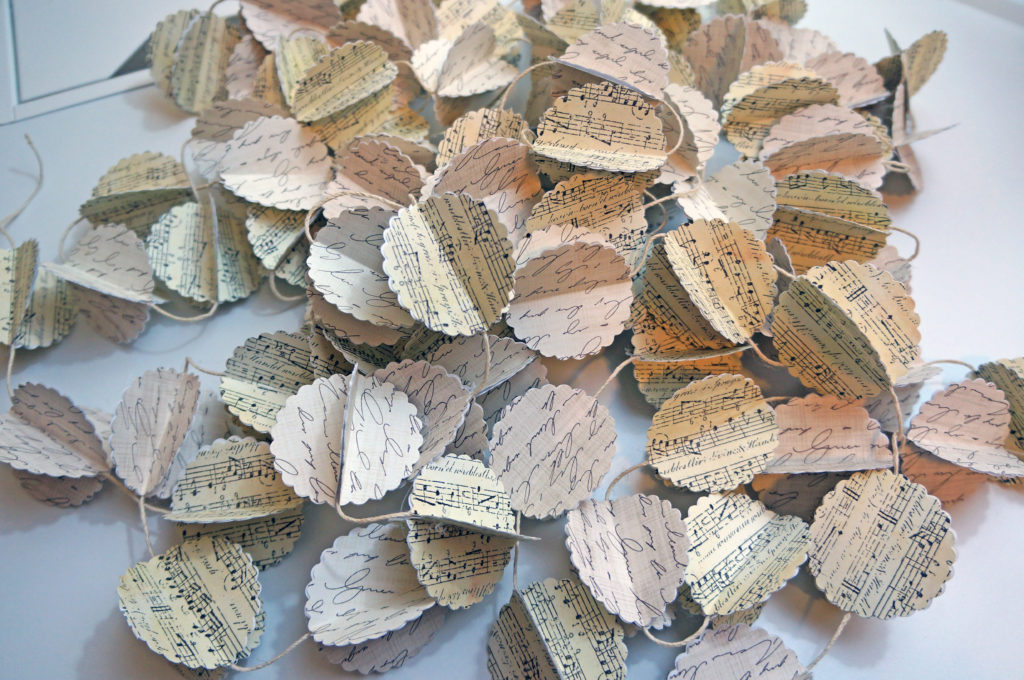
To accessorize, choose pieces with varying heights and sizes throughout because this will naturally create visual movement across the space. The branches and floral stems in each of the vases provides visual height and balances out the smaller pieces. Add a wintery garland and scripted banner to transform the space for the holidays. Continue to add traditional pieces like the family photos, stockings and a sleigh for the final touches. Pick pieces that flow together and colors that compliment each other.

Details

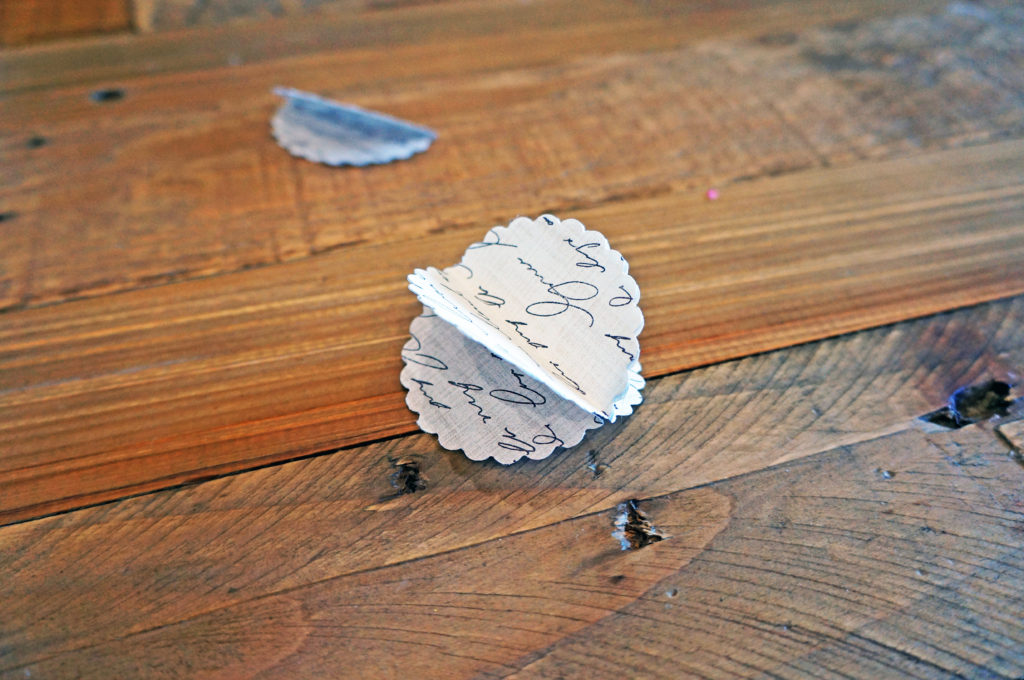
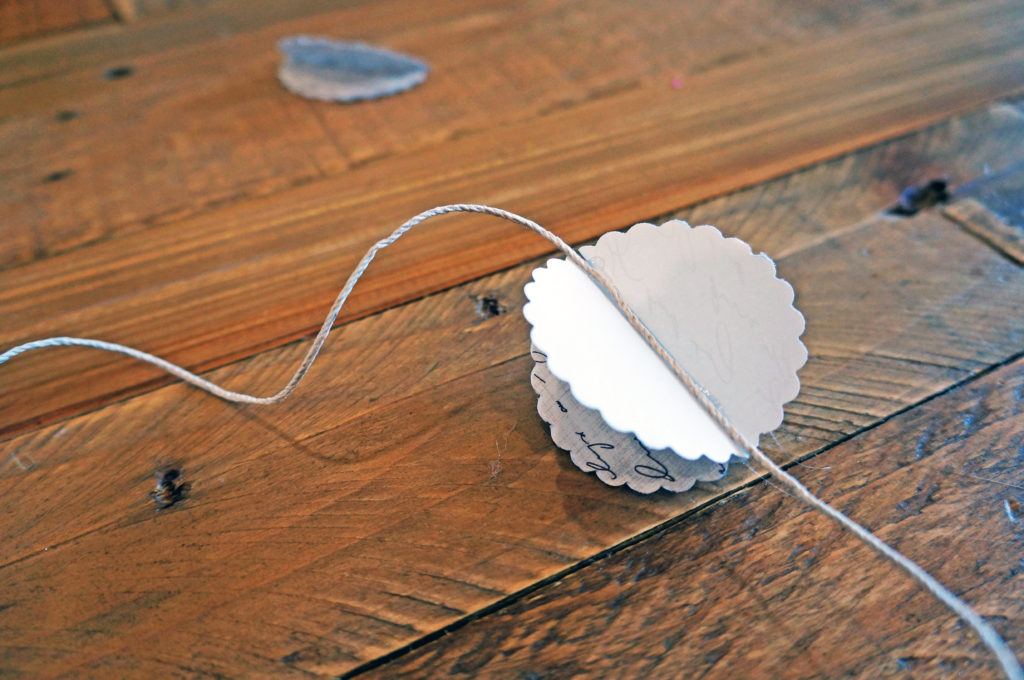
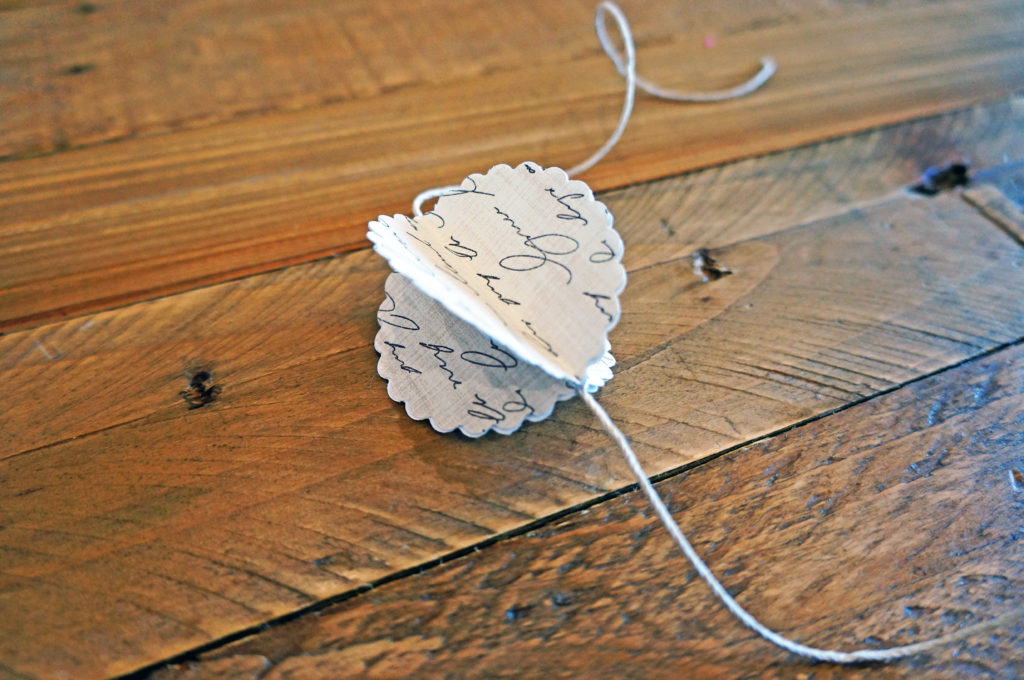
  • The banner is from Etsy. I bought this many moons ago before I realized I was crafty.
  • Stockings, sleigh, sacks, wooden tree, faux wooden logs, and garland are from Home Goods & Hobby Lobby from many years ago
  • Stocking are hung with command hooks
  • Frames are $5.99 from Home Goods
  • I splurged this year and bought the $29 wooden reindeer from Home Goods. I saw it and had to have it!
  • The joy sign is a recent find from Home Goods that was approx. $10
  • I added floral stems with berries from Hobby Lobby to the existing branches and vases

I hope this guide inspires you to create your own awe-inspiring mantle. Don’t forget to tag #SAROMINspired on social media! I can’t wait to see what you come up with!

dsc04145-1 dsc04146-1 dsc04147-1 dsc04148-1 dsc04150-1 dsc04151-1

Christmas Tree Decorating & DIY Garland

Its funny how Thanksgiving was only a week ago, but It quickly became a sweet and distant memory. Its now December 1st and Christmas decorating is in full force. FA LA LA LALAAAA!

Decorating a Christmas Tree can seem pretty daunting and overwhelming at first. Take a deep breath and tackle each step one at a time. And before you know it, you will be decorating a Christmas tree like a pro!

I really love the smell of a real Christmas tree but do not look forward to the maintenance and continuously picking up fallen needles. Well that is what Christmas tree smelling candles are for!

First off, fluff and keep on fluffing the tree when you get it out of the box and onto the stand. This year, I had to wait to start decorating my tree because I was anxiously awaiting the arrival of my stand with wheels. Best decision ever! I wanted to be able to wheel the tree next to the mantle for a good photo op session! If that doesn’t scream OCD, then I don’t know what does!

Okay, back to the tree….hang lights if you don’t have a pre-lit tree.

Next is to add the garland. This year, I added two different types of garland: a beaded garland and a DIY garland (Its your lucky day… the step by step guide is below). Start draping the garland from the top of the tree to the bottom.

Time to add the ribbon… of course, I went with a burlap ribbon. Again start from the top to bottom. Cinch and twist each section to a branch and puff out each looped section of the ribbon. Also, less ornaments are needed when adding a ribbon!

Add ornaments you want to showcase first and strategically position them so they can shine.

Then add bulb ornaments to fill up any gaps.

Lastly, add the tree topper.

Step back, look and TADA!

dsc04047-21

dsc04041-1

dsc04123-1

I love the glow and twinkle of the lights as it shines through the burlap.

dsc04083-4

dsc04134-1

dsc04086-2

dsc04131-1

dsc04104-1

dsc04102-1

I really wanted a whimsical delicate garland and was on the hunt for the longest time. After going from store to store, website to website, I decided to DIY it because I knew exactly what I wanted. Keep on reading if you want to create this beauty for yourself!

dsc04077-1

dsc04135-1

Supplies:

  • paper design of your choice
  • jute
  • scissors
  • scallop punch
  • glue gun / sticks

dsc03814-1

Grab the punch and start punching each sheet.

dsc03825-1 dsc03829-1

Once you have all the scalloped circles punched, grab four circles and fold each circle in half.

dsc04155-2

Next, glue one half of the circle to another half of a circle.

dsc04160-2

Grab the 3rd folded circle and hot glue to the 2nd half of the circle that is already attached.

dsc04164-1

Grab the jute and hot glue it to the inner grove formed from the 3 attached circles.

dsc04167-1

Now hot glue the 4th scalloped circle to the rest.

dsc04169-1

Keep repeating the steps until you reached your desired length!

dsc03886-1