Christmas Tree Decorating & DIY Garland

Its funny how Thanksgiving was only a week ago, but It quickly became a sweet and distant memory. Its now December 1st and Christmas decorating is in full force. FA LA LA LALAAAA!

Decorating a Christmas Tree can seem pretty daunting and overwhelming at first. Take a deep breath and tackle each step one at a time. And before you know it, you will be decorating a Christmas tree like a pro!

I really love the smell of a real Christmas tree but do not look forward to the maintenance and continuously picking up fallen needles. Well that is what Christmas tree smelling candles are for!

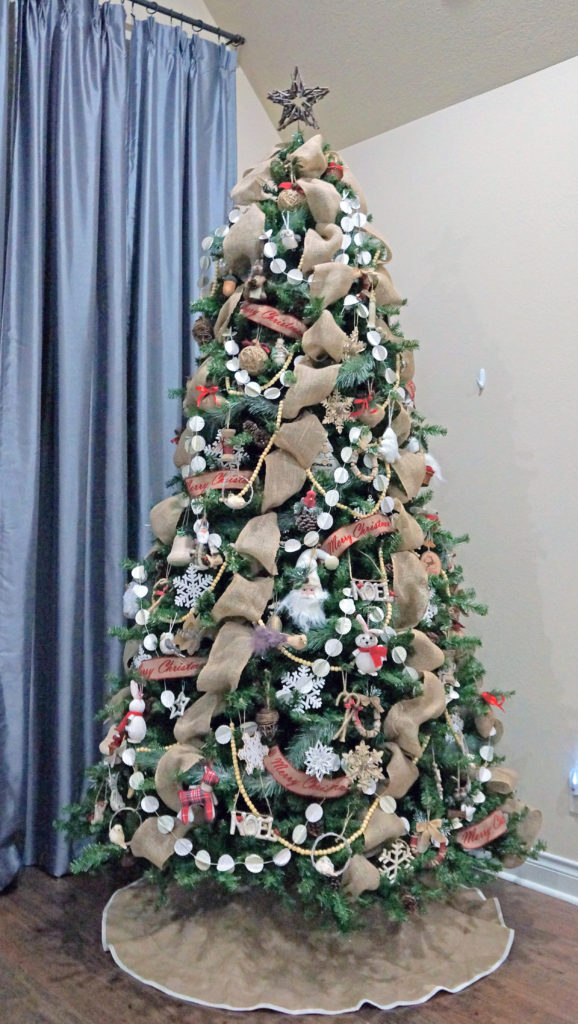
First off, fluff and keep on fluffing the tree when you get it out of the box and onto the stand. This year, I had to wait to start decorating my tree because I was anxiously awaiting the arrival of my stand with wheels. Best decision ever! I wanted to be able to wheel the tree next to the mantle for a good photo op session! If that doesn’t scream OCD, then I don’t know what does!

Okay, back to the tree….hang lights if you don’t have a pre-lit tree.

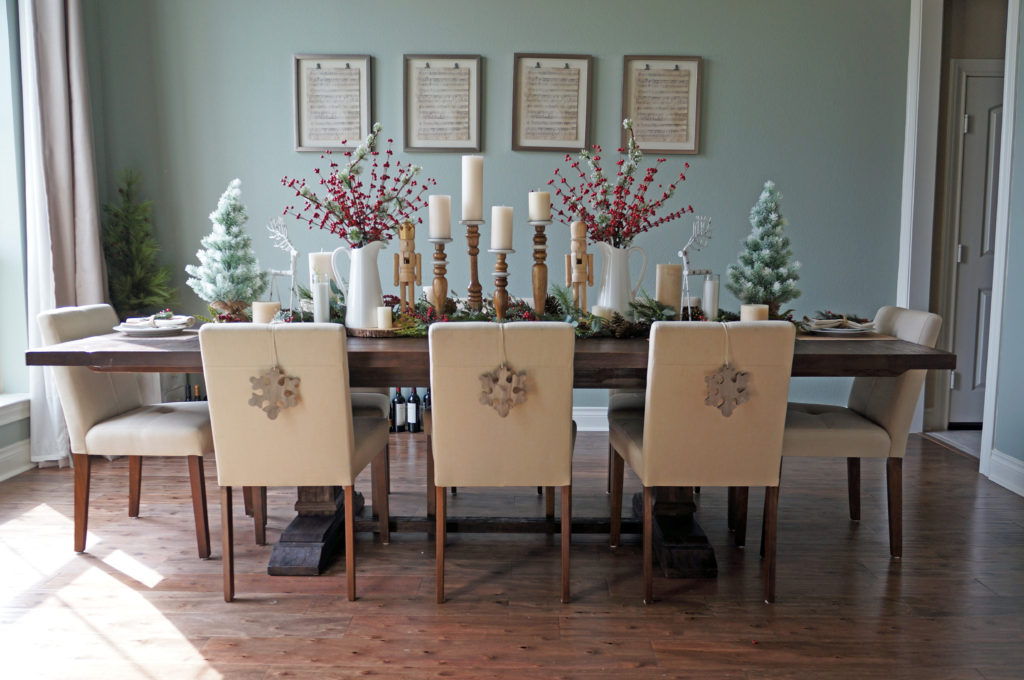
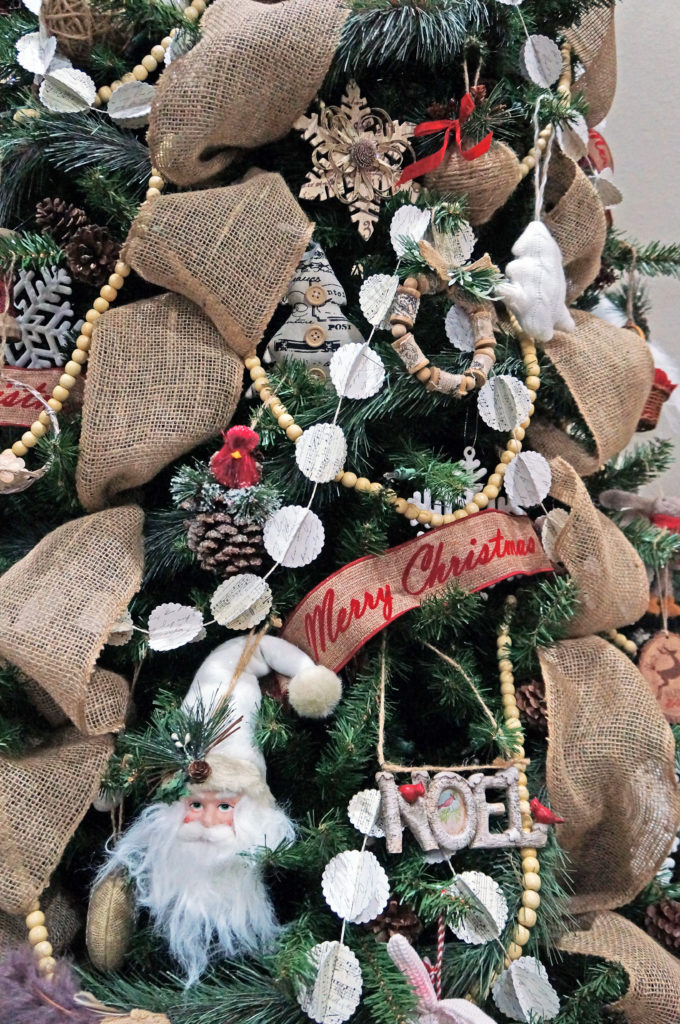
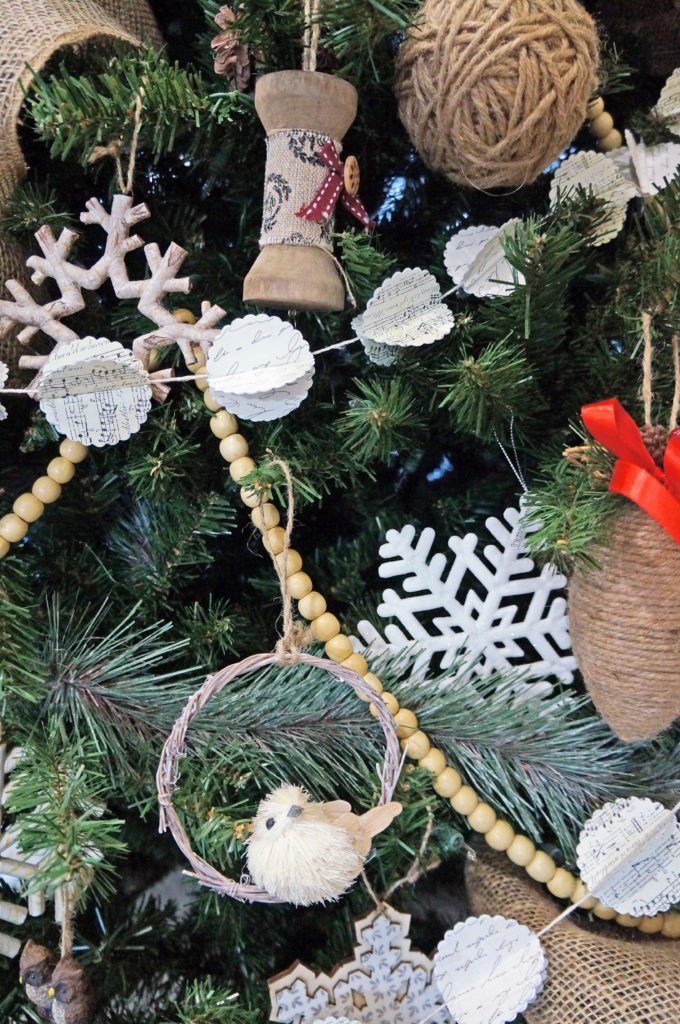
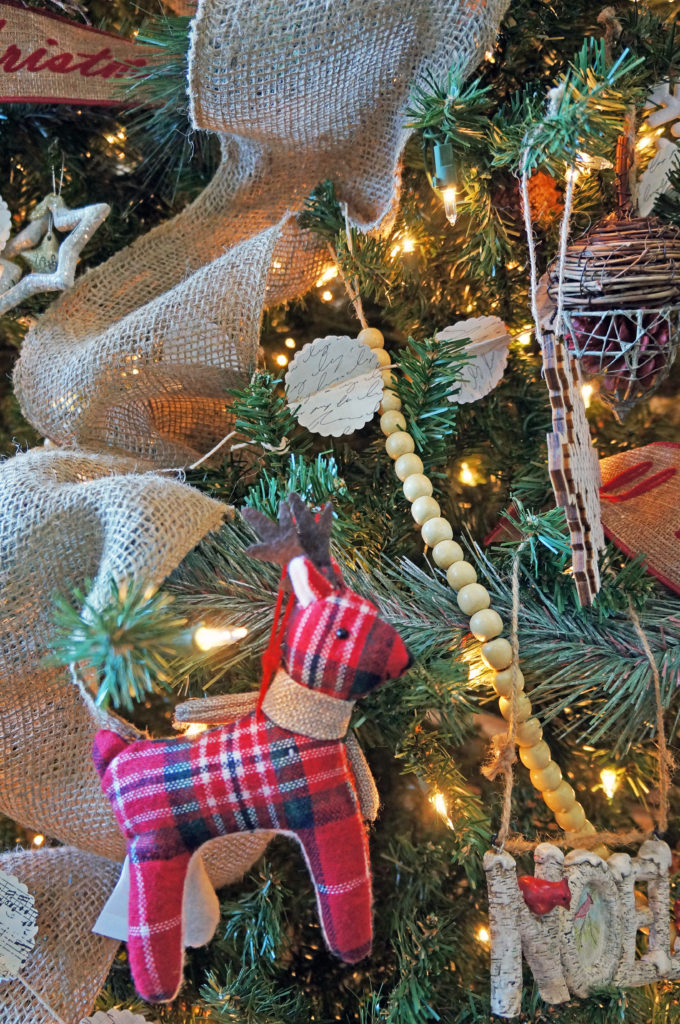
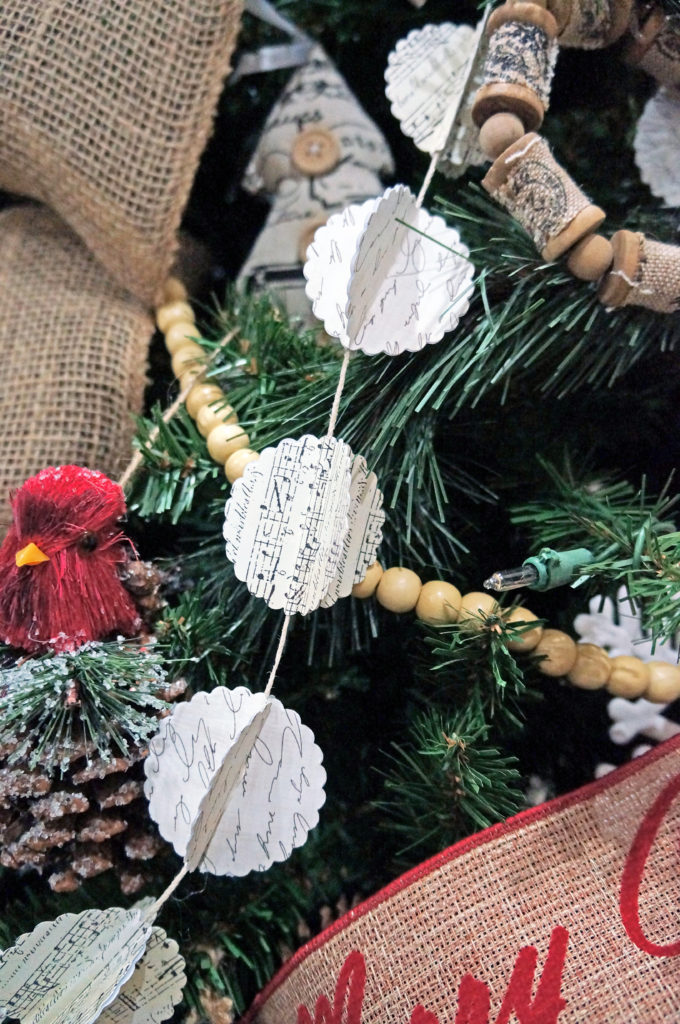
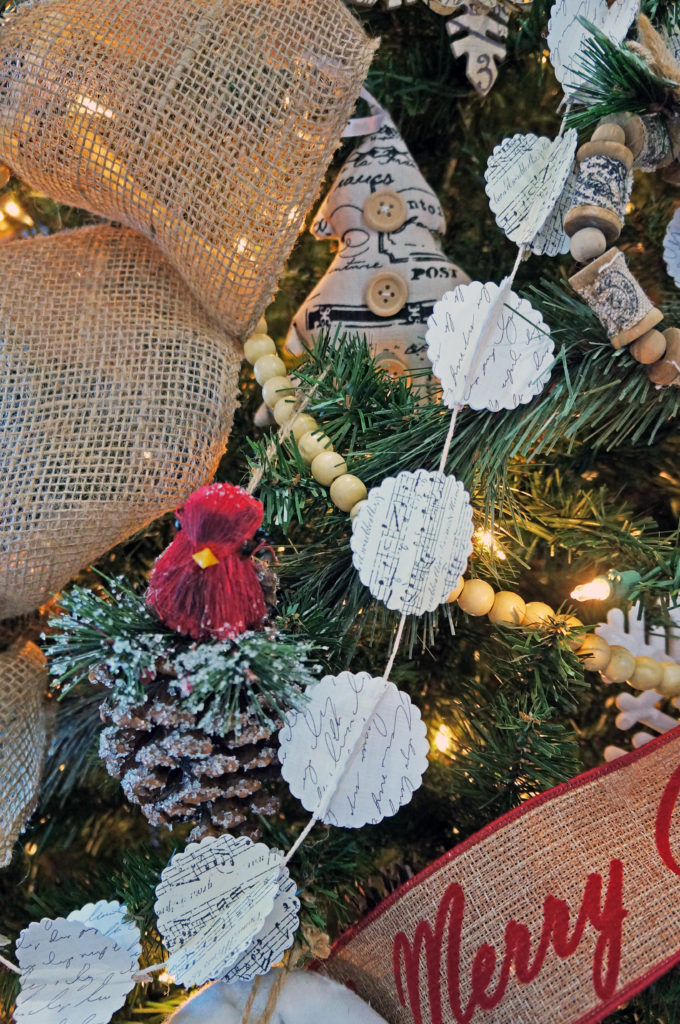
Next is to add the garland. This year, I added two different types of garland: a beaded garland and a DIY garland (Its your lucky day… the step by step guide is below). Start draping the garland from the top of the tree to the bottom.

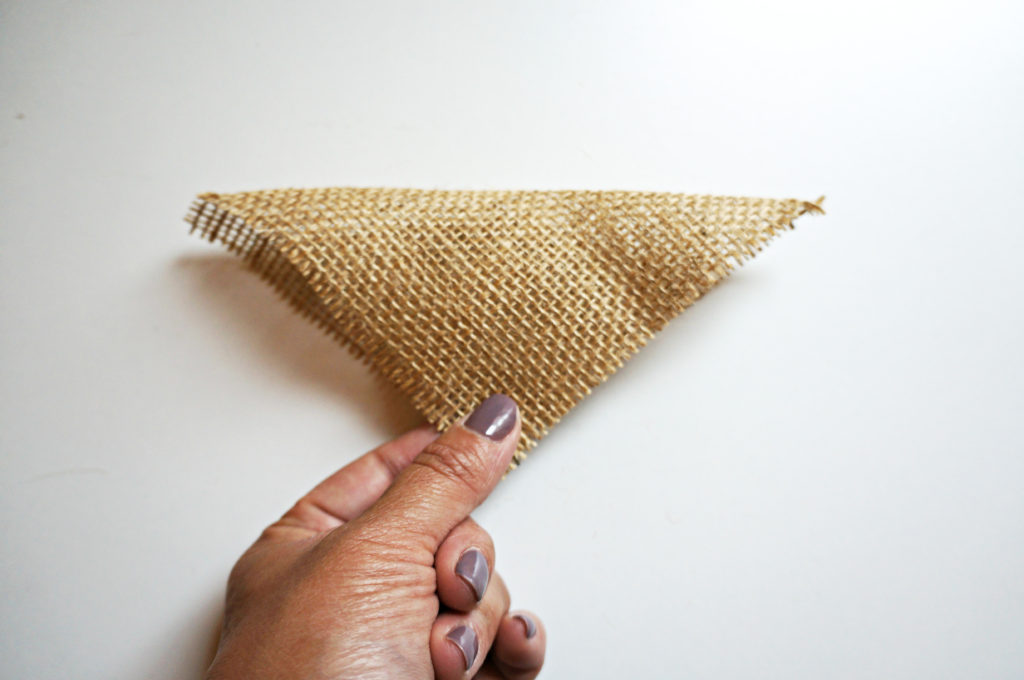
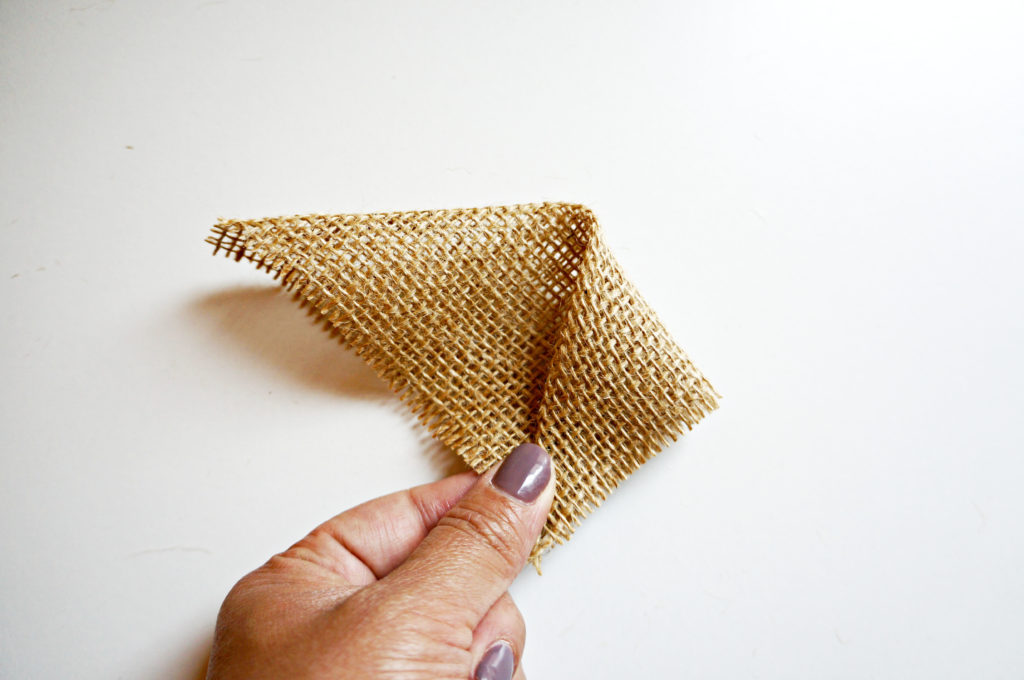
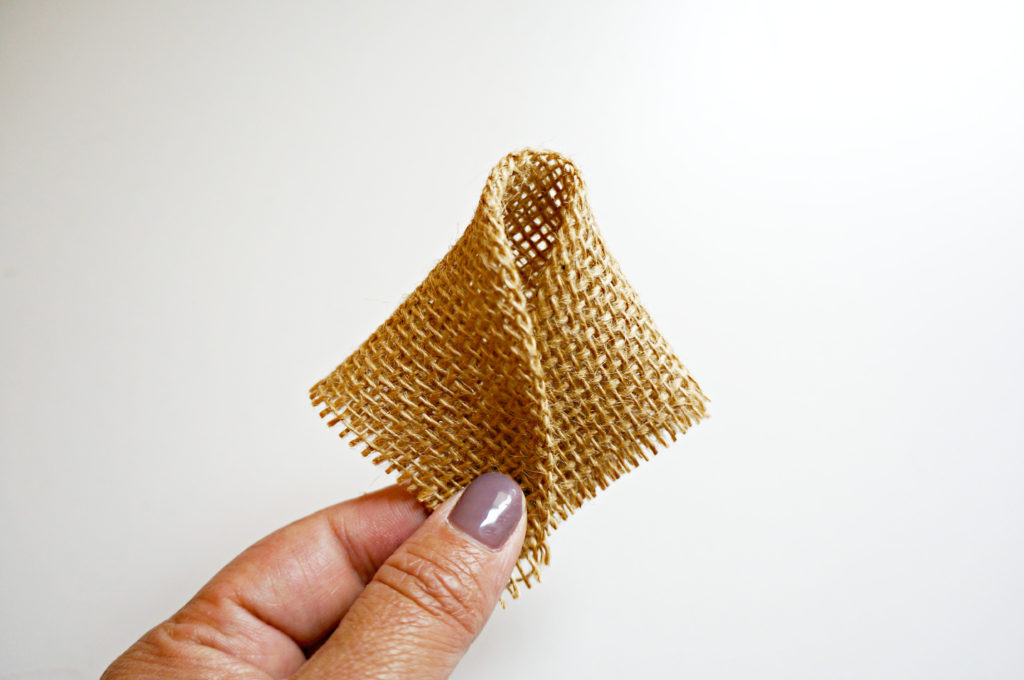
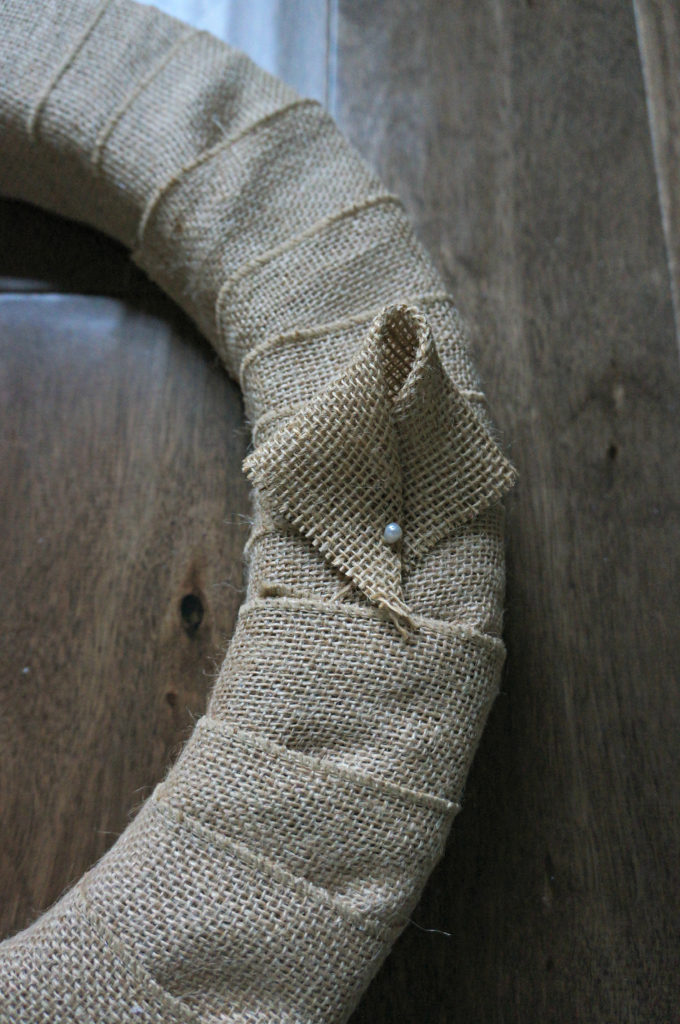
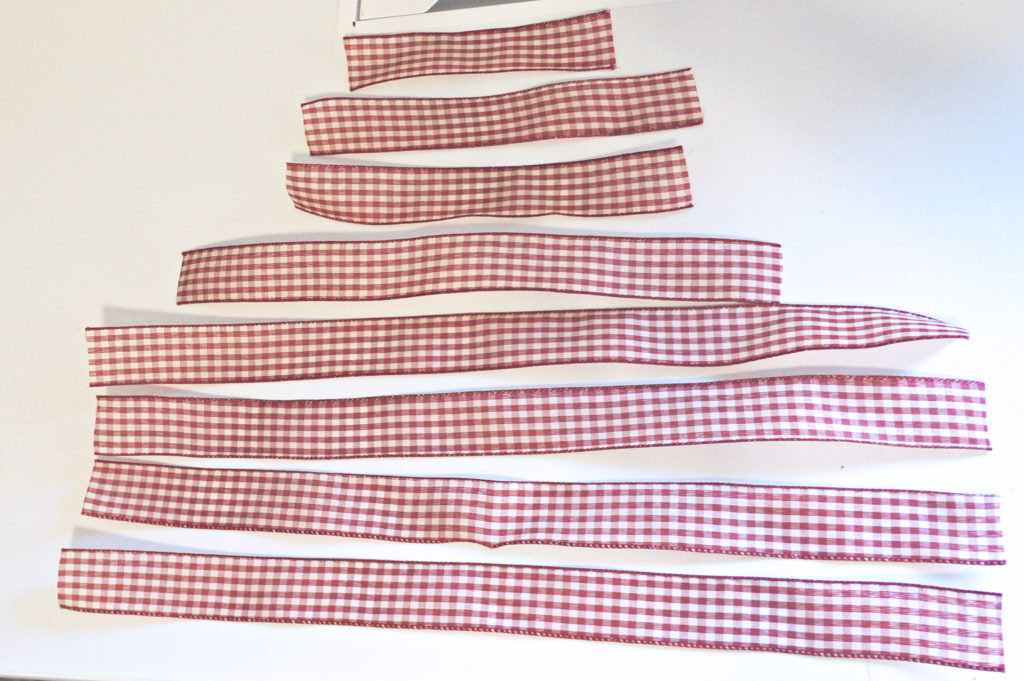
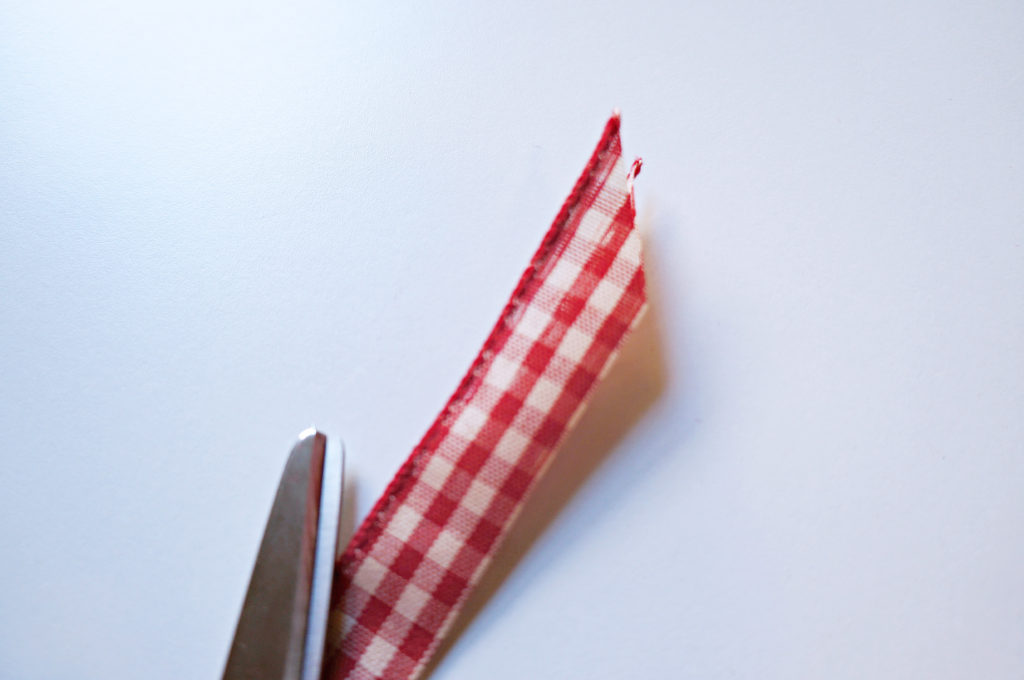
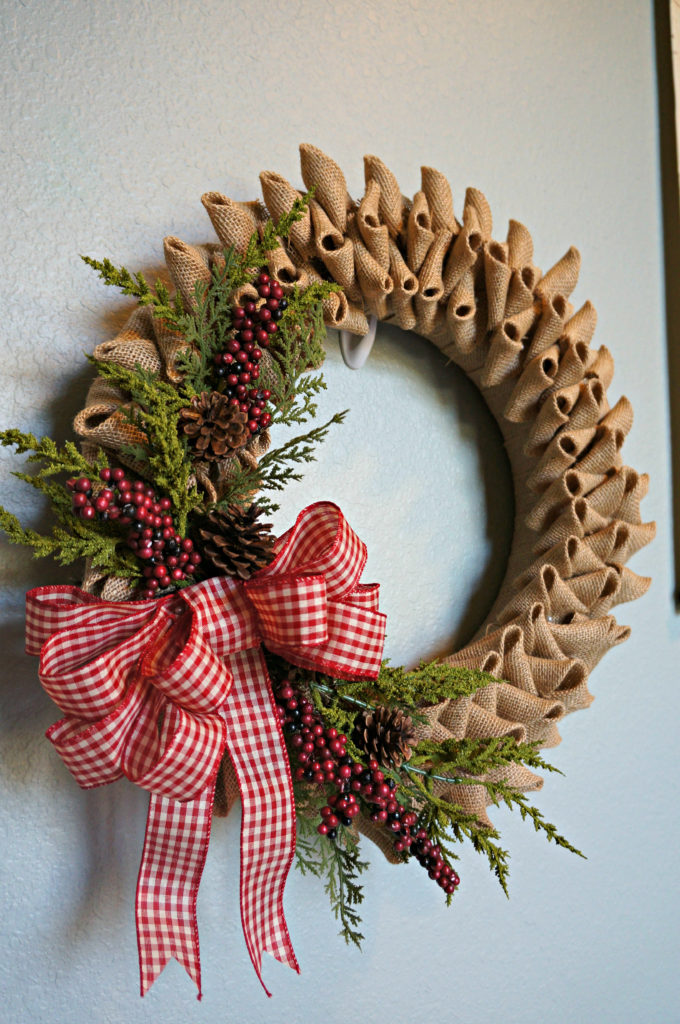
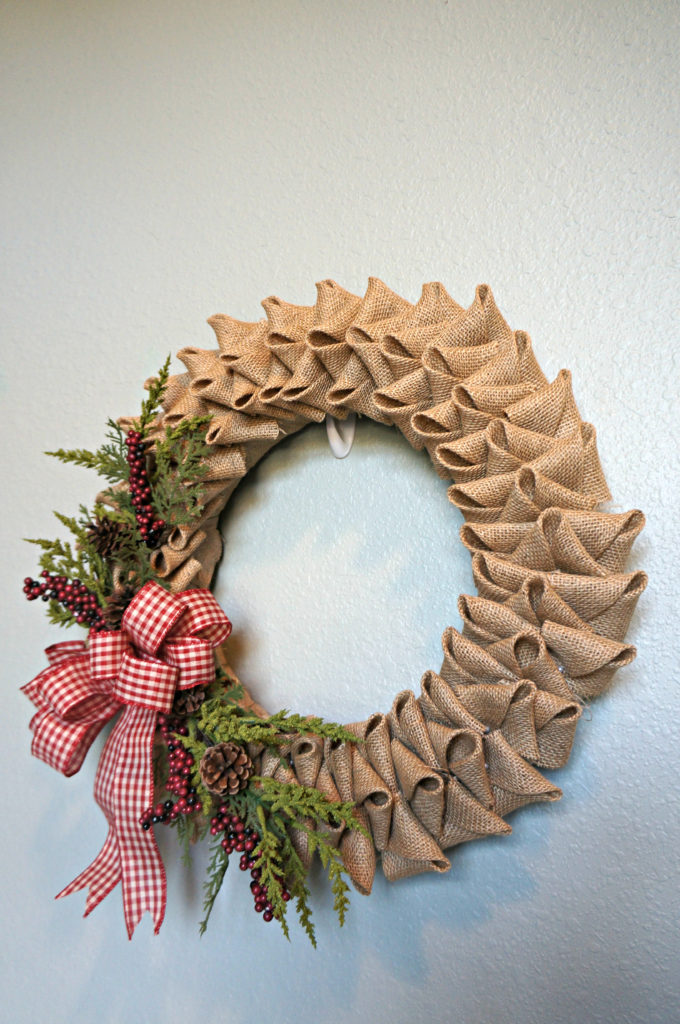
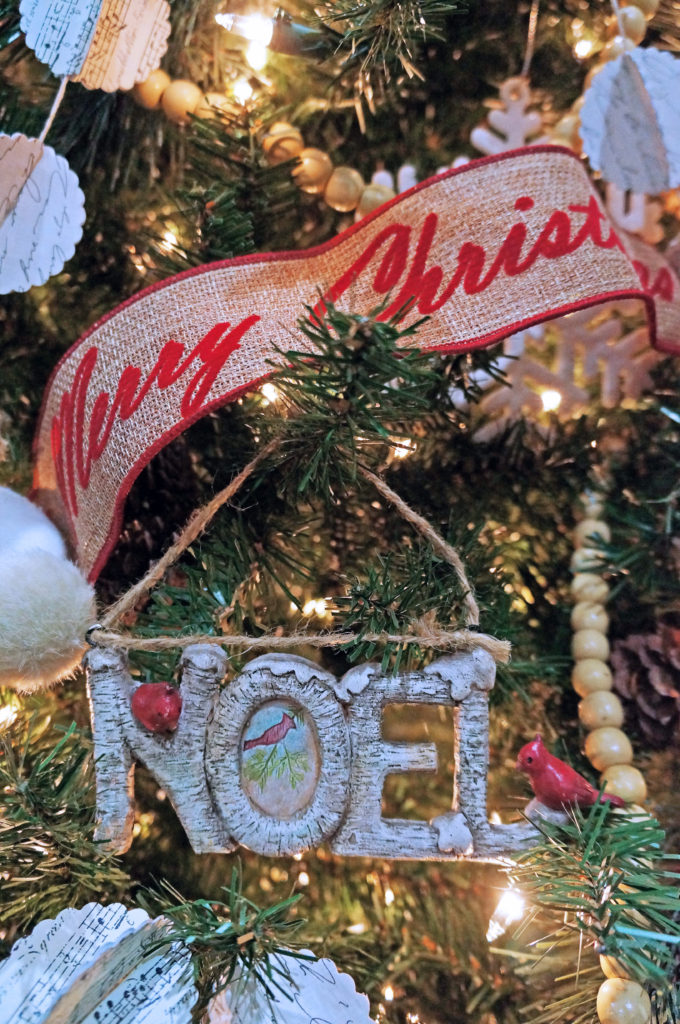
Time to add the ribbon… of course, I went with a burlap ribbon. Again start from the top to bottom. Cinch and twist each section to a branch and puff out each looped section of the ribbon. Also, less ornaments are needed when adding a ribbon!

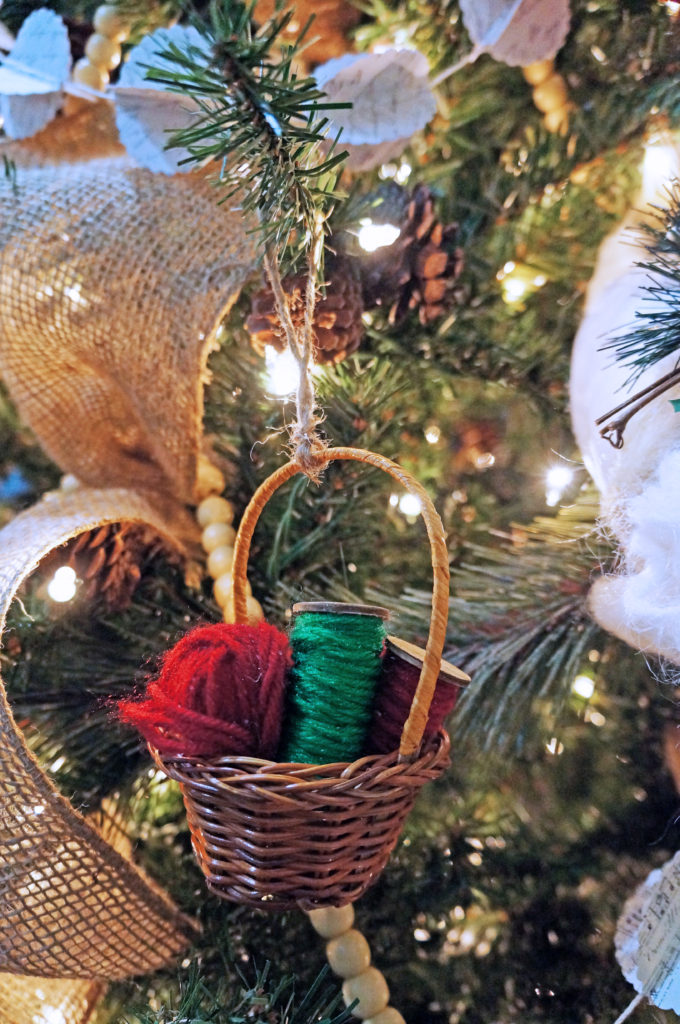
Add ornaments you want to showcase first and strategically position them so they can shine.

Then add bulb ornaments to fill up any gaps.

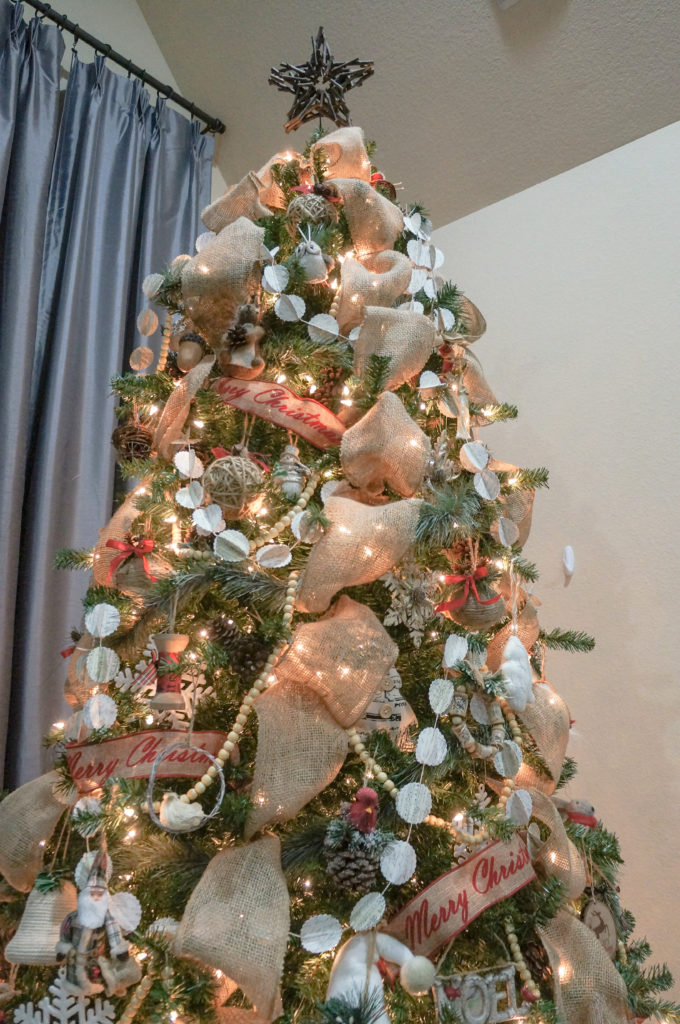
Lastly, add the tree topper.

Step back, look and TADA!

dsc04047-21

dsc04041-1

dsc04123-1

I love the glow and twinkle of the lights as it shines through the burlap.

dsc04083-4

dsc04134-1

dsc04086-2

dsc04131-1

dsc04104-1

dsc04102-1

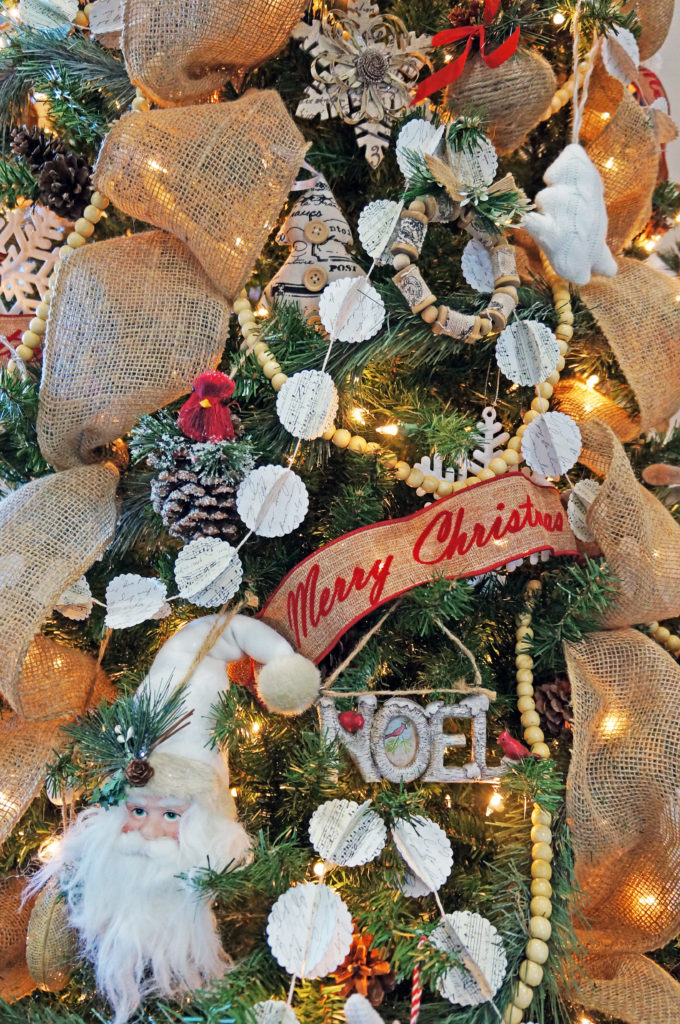
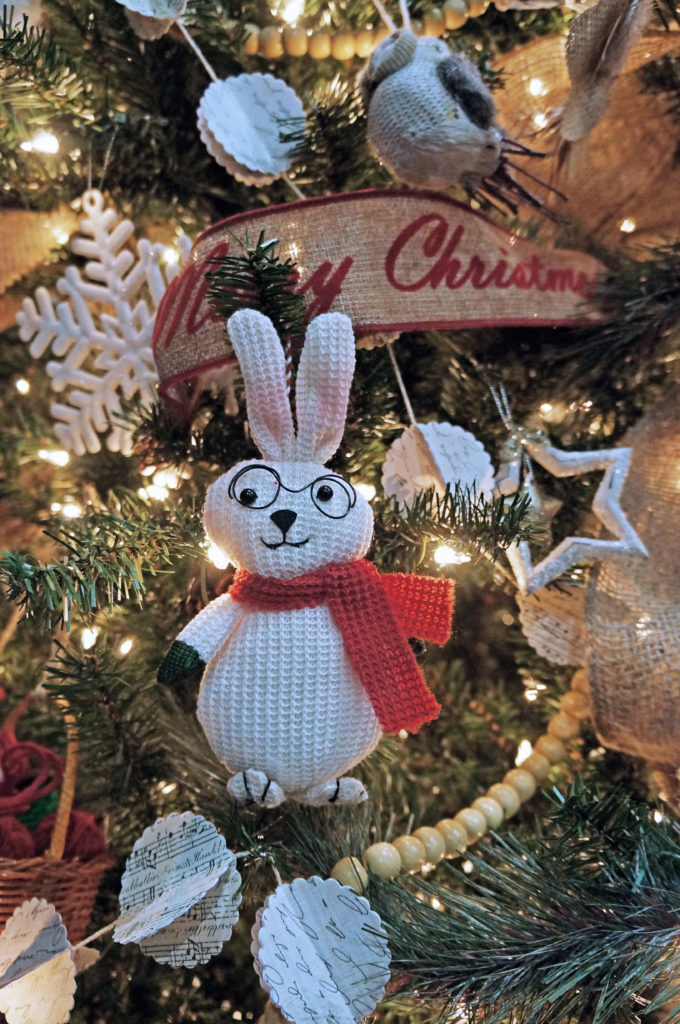
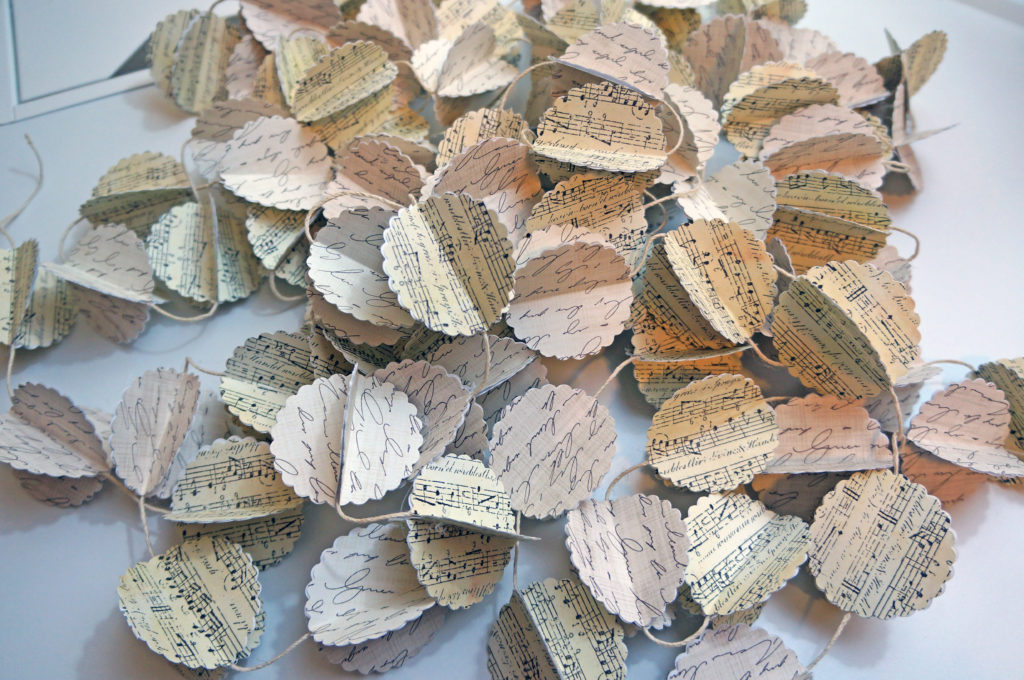
I really wanted a whimsical delicate garland and was on the hunt for the longest time. After going from store to store, website to website, I decided to DIY it because I knew exactly what I wanted. Keep on reading if you want to create this beauty for yourself!

dsc04077-1

dsc04135-1

Supplies:

  • paper design of your choice
  • jute
  • scissors
  • scallop punch
  • glue gun / sticks

dsc03814-1

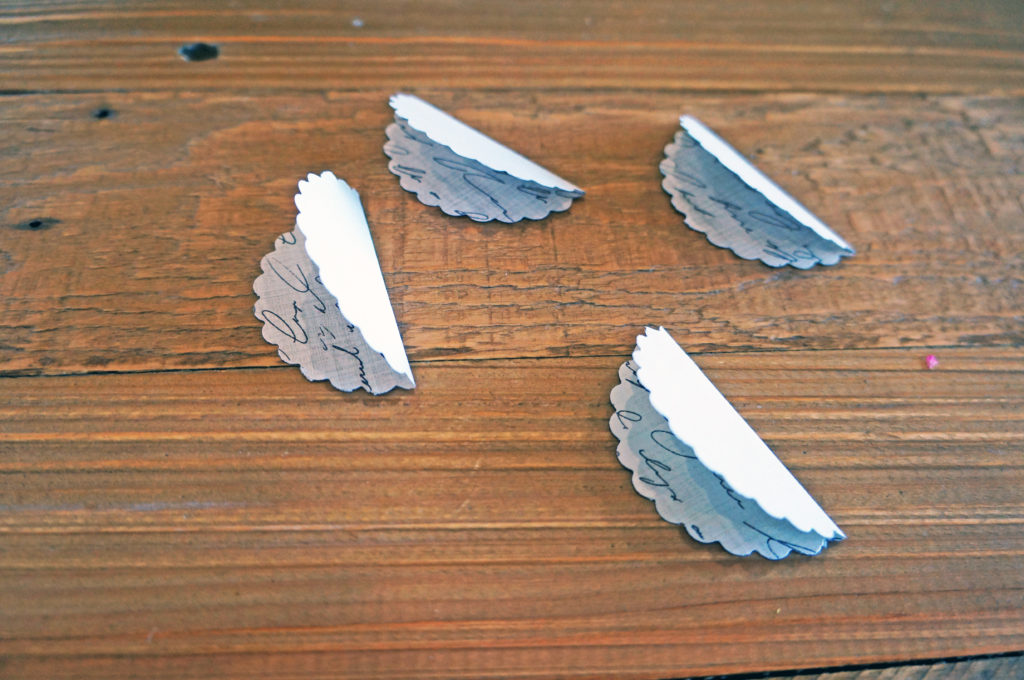
Grab the punch and start punching each sheet.

dsc03825-1 dsc03829-1

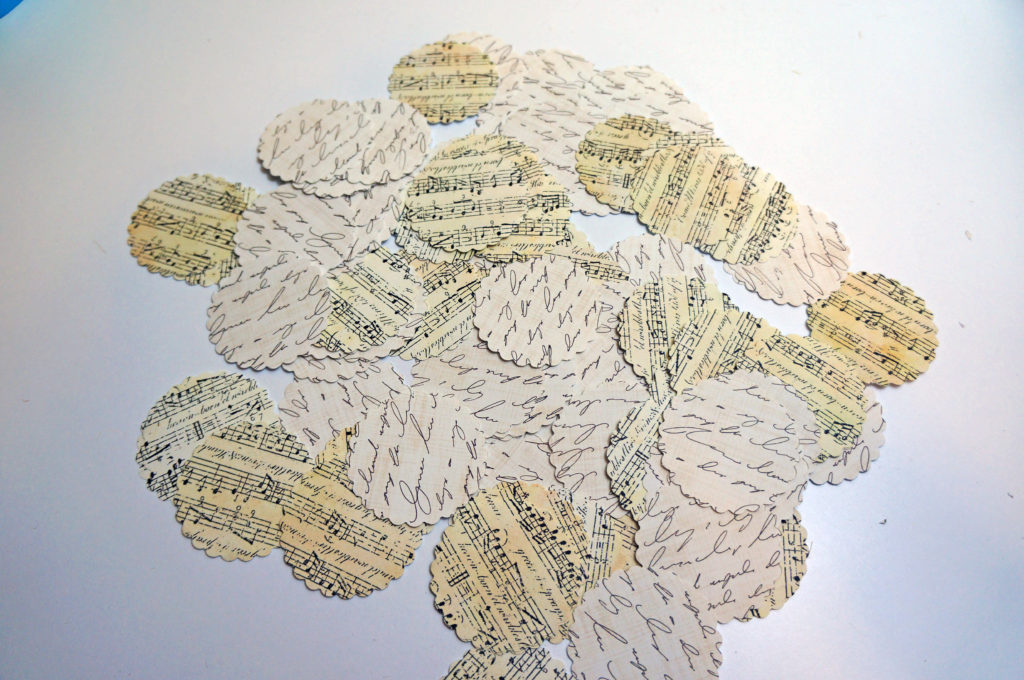
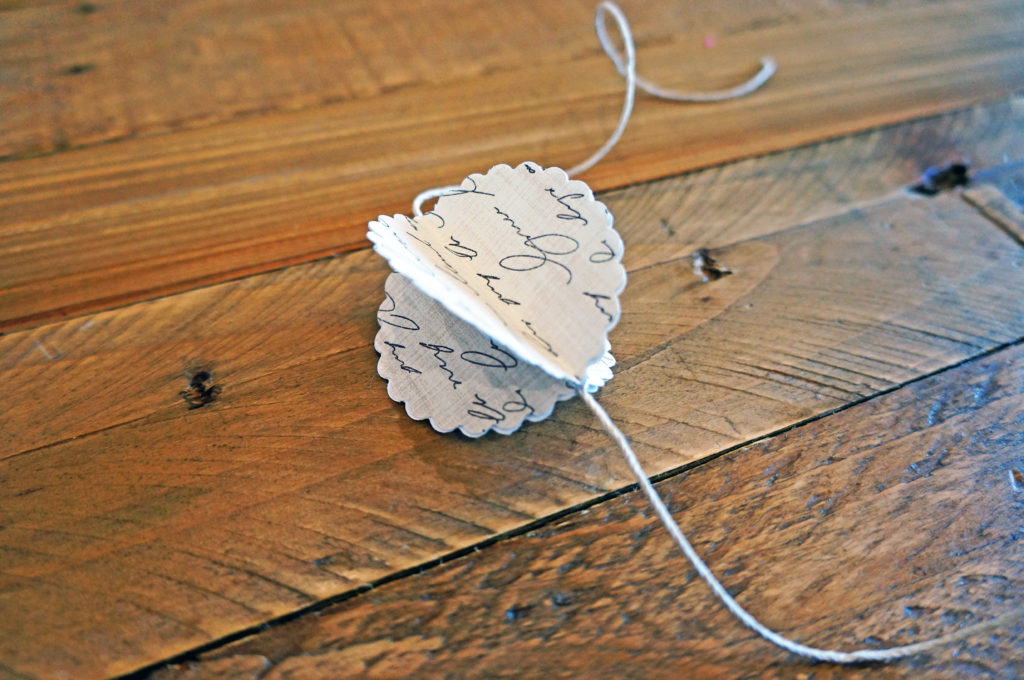
Once you have all the scalloped circles punched, grab four circles and fold each circle in half.

dsc04155-2

Next, glue one half of the circle to another half of a circle.

dsc04160-2

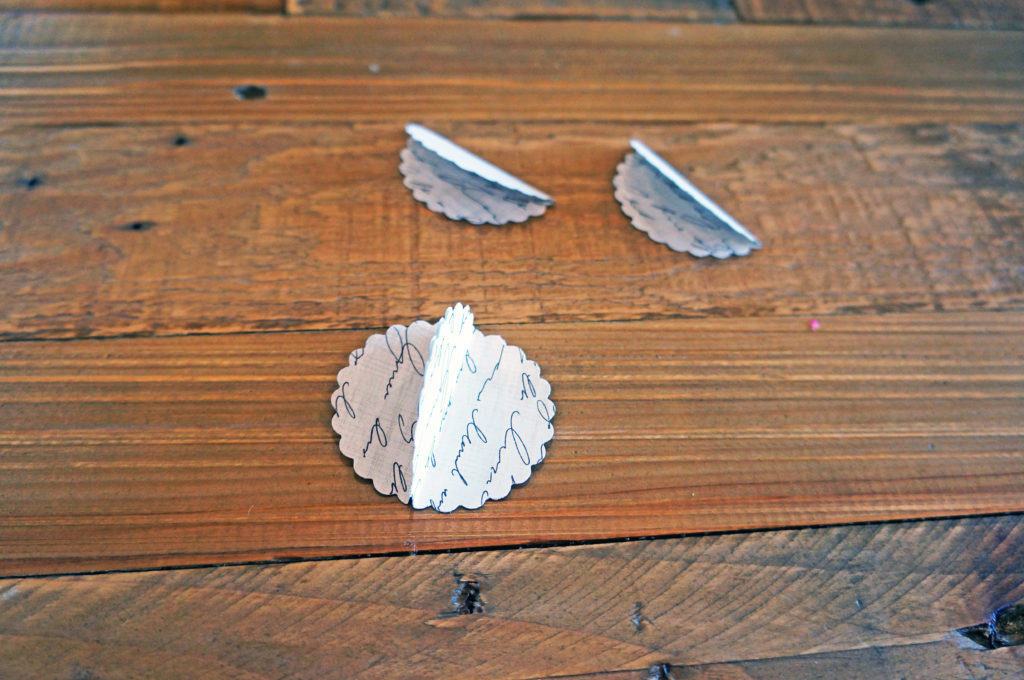
Grab the 3rd folded circle and hot glue to the 2nd half of the circle that is already attached.

dsc04164-1

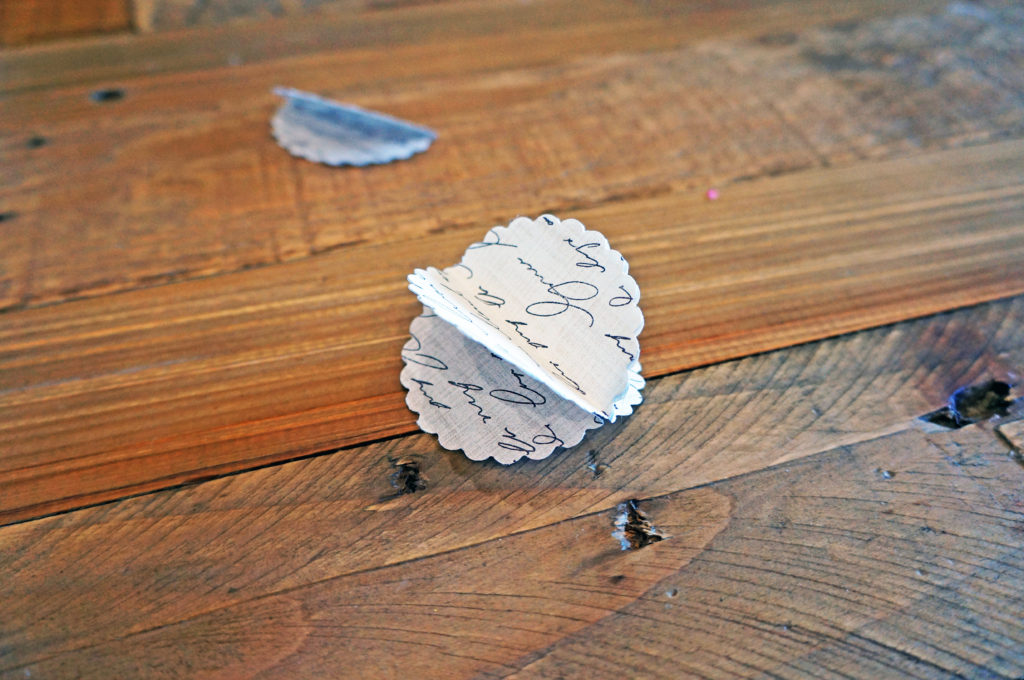
Grab the jute and hot glue it to the inner grove formed from the 3 attached circles.

dsc04167-1

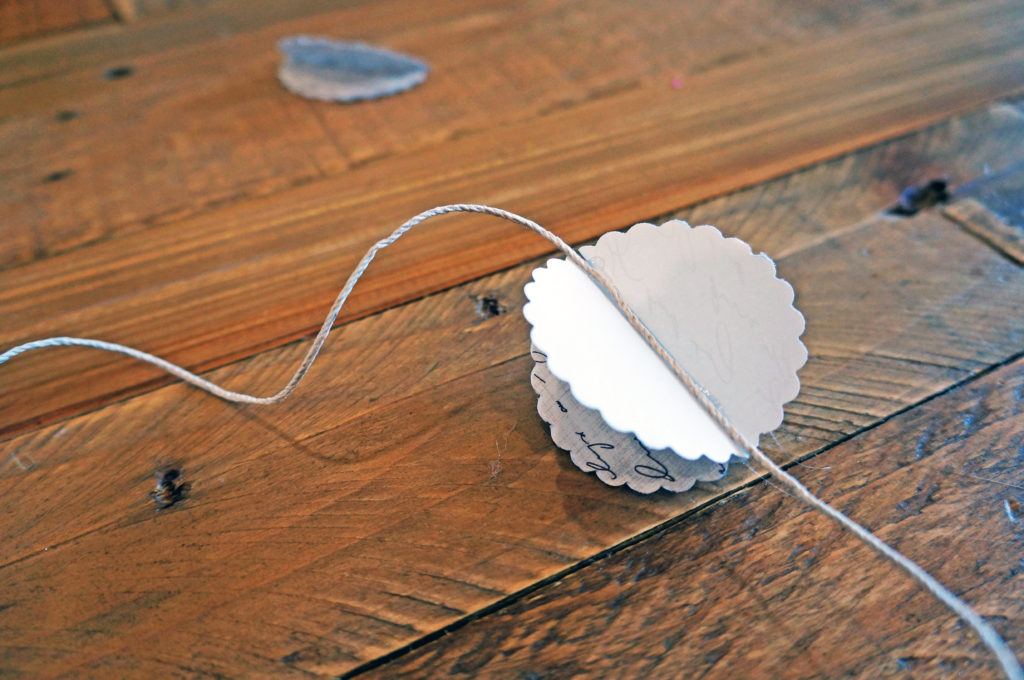
Now hot glue the 4th scalloped circle to the rest.

dsc04169-1

Keep repeating the steps until you reached your desired length!

dsc03886-1

Holiday Tablescape

You are probably wondering how do you go about creating your own awe-inspiring tablescape. Well… give it some height. Give it some width. Don’t be scared to take up the entire space. Look for items you already have. Look in your closet. It does not have to be elaborate. It does not have to be shiny. Or glittery. Add small delicate details. Then add some more details. And then step back and look what is in front of you.

The details:

  • $2.50 Hobby Lobby Clear Vases
  • $1 Hobby Lobby Red Berries
  • White pitchers, nutcrackers and candle holders are recent finds from Home Goods
  • Wood slices and candles are a collection gathered throughout my years of hoarding
  • The weathered white metal reindeers… I am certain it is from either Michael’s or Hobby Lobby post-Christmas finds
  • The wooden snowflakes on the backs of each chair is from a wooden garland I found post-Christmas at Marshall’s last year. I cut off each snowflake and added jute to hang them off each chair
  • I am sure the floral garland is a post-Christmas find from previous years at Hobby Lobby. If you find there are gaps and holes in certain areas after you lay down the garland, purchase those $1 floral stems at Hobby Lobby to fill in the gaps
  • For the napkin display, cut off any green foliage you have, add berries, cinnamon stick and jute to tie them all together… and VOILA!

Okay… now I am off to tackle the Christmas tree decorations!

dsc03948-1

dsc03921-1

dsc03930-1

dsc03935-1

dsc03943-1

dsc03932-1

dsc03934-1

dsc03937-2

dsc03939-1

dsc03945-1

sneak-peak

dsc03954-1

dsc03958-1

dsc03961-1

dsc03965-1

dsc03917-1


A Crafty Soiree – How to Make a Burlap Petal Wreath

I know I know… I hesitated to post anything Christmas related since Thanksgiving hasn’t occurred yet! However, I co-hosted a wreath and tree making workshop, A Crafty Soiree, at my home this past weekend. I really wanted another burlap wreath, but didn’t want to use the same technique I used with the Fall Burlap Wreath I made for last month’s Wreath & Wine Night. I guess it is safe to say that I am burlap obsessed.

Fall Wreath

333

Today we are going learn how to make a Burlap Petal Wreath with the step by step guide below.

dsc03348-1-2

Supplies
18 inch foam round wreath
1.5 yards of burlap fabric to make 90 5 x 5 inch squares
burlap ribbon (optional)
boutonniere pins
floral steams to decorate
wired ribbon
floral wire
cutting mat
rotary cutter or fabric scissors
ruler
wire cutter
glue gun (optional)

Start by wrapping the burlap ribbon around the foam. You could also cut long strips of the burlap fabric and use that to wrap.

wreath-1

Secure the ribbon ends with boutonniere pins.

wreath2

To make the 5 x 5 burlap squares: grab the cutting mat, rotary scissors or fabric scissors and ruler (ruler not shown in pic.)

wreath16

Once all 90 squares have been cut, then take one of the squares and fold it in half.

wreath3

Fold the right corner down.

wreath4

Fold the left corner down.

wreath5

Secure petal to the foam with a boutonniere pin in the centermost section.

wreath6

Repeat the steps by laying each petal just over the pin from the previous petal.

wreath7

The first row is now complete.

wreath8

Now it’s time to work on the outermost row. Secure a petal in between each centered petal.

wreath9

Repeat until the outer row is complete.

wreath10-1

Now repeat the steps for the innermost layer.

wreath11

Here is the look when all 3 rows are complete.

wreath13

Now gather the floral stems that are being used to decorate and secure the stems on to the wreath with floral wire.

wreath14

Now I am going to show you the cheater’s way of making a bow!

For the bow, cut 8 stripes of the wired ribbon. Wired ribbons are easier to use to make bows because it is easier to manipulate.

Strip measurements: 1st – 7 inches, 2nd & 3rd – 10 inches, 4th – 15 inches, 5th to 8th – 20 inches.

w18

Fold strip # 2 in half and diagonally cut the end.

w19

A tail appears when the ribbon is opened. Repeat steps for strip # 3.

w20

Take ribbons # 4 to 8 and fold the ends to the middle.

w21

Stack ribbons # 4 to 8 on top of each other with the smallest on top.

w22

Vertically wrap the 1st ribbon around the body of the bow.

w23

Secure the tail to the back of the bow with a pin or hot glue. I used a pin so that I could easily adjust if needed.

w24

Flip the bow back to the front and puff out the loops with your fingers. Secure the bow onto the wreath with a pin. You may use a hot glue gun instead of a boutonniere pin in any of these steps.

w25

Finally here is the finish piece!

dsc03348-1-2

dsc03375-1

dsc03378-1

I hope you enjoy making this wreath!