I know I know… I hesitated to post anything Christmas related since Thanksgiving hasn’t occurred yet! However, I co-hosted a wreath and tree making workshop, A Crafty Soiree, at my home this past weekend. I really wanted another burlap wreath, but didn’t want to use the same technique I used with the Fall Burlap Wreath I made for last month’s Wreath & Wine Night. I guess it is safe to say that I am burlap obsessed.
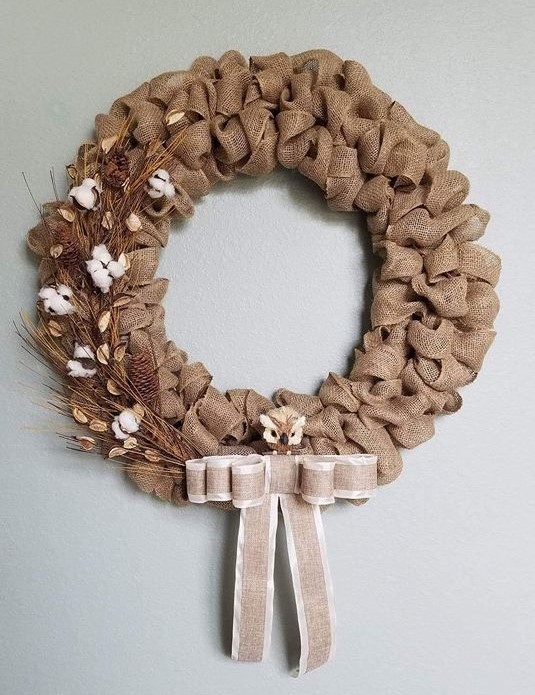
Fall Wreath
Today we are going learn how to make a Burlap Petal Wreath with the step by step guide below.
Supplies
18 inch foam round wreath
1.5 yards of burlap fabric to make 90 5 x 5 inch squares
burlap ribbon (optional)
boutonniere pins
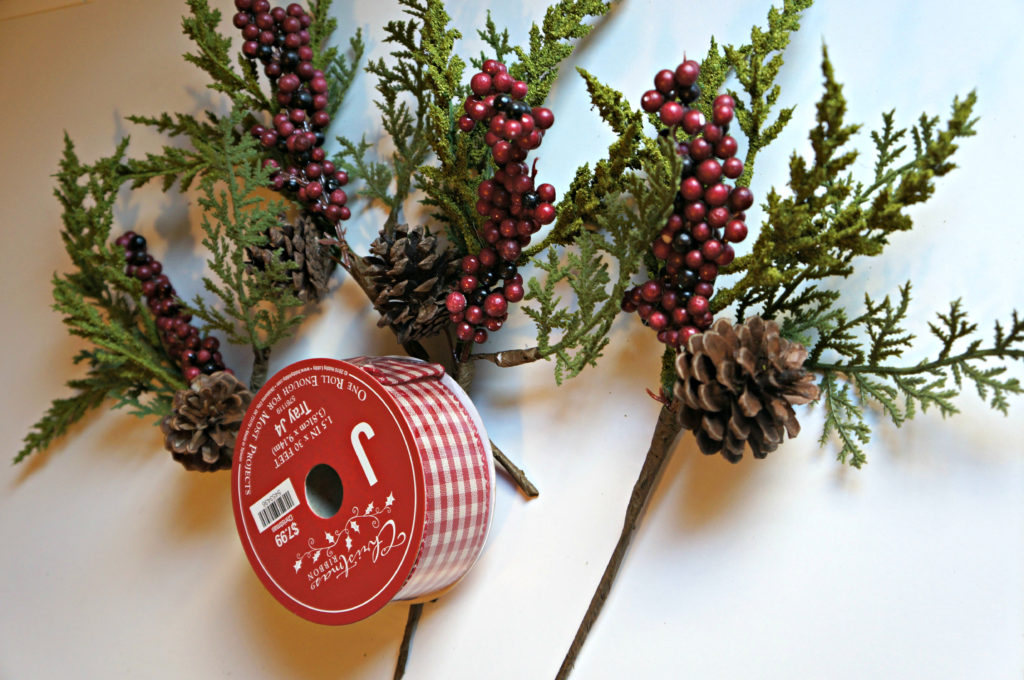
floral steams to decorate
wired ribbon
floral wire
cutting mat
rotary cutter or fabric scissors
ruler
wire cutter
glue gun (optional)
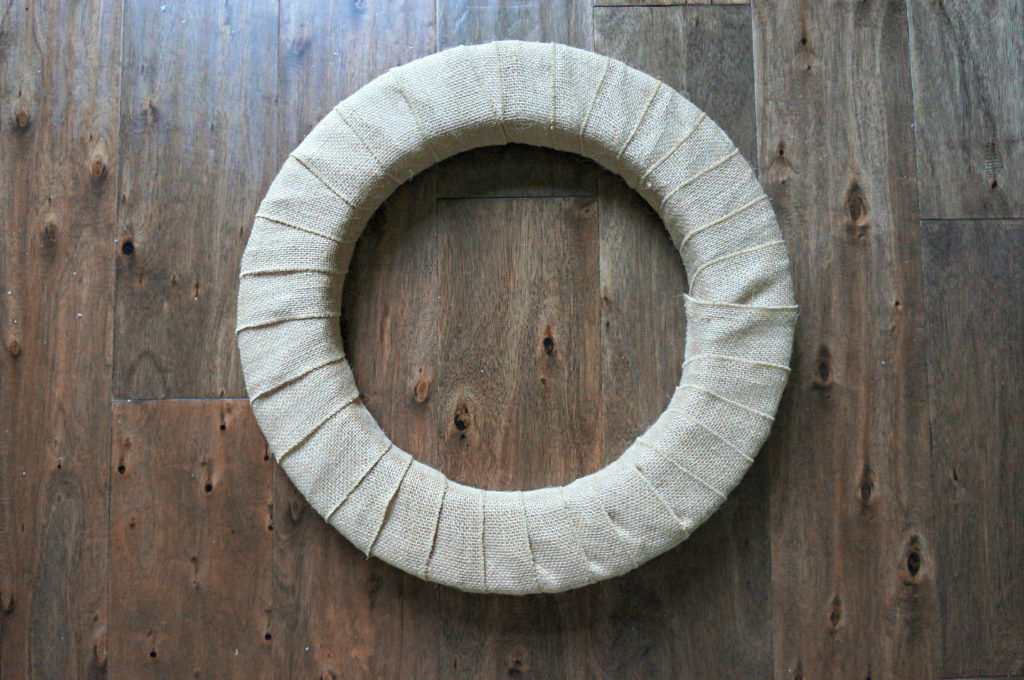
Start by wrapping the burlap ribbon around the foam. You could also cut long strips of the burlap fabric and use that to wrap.
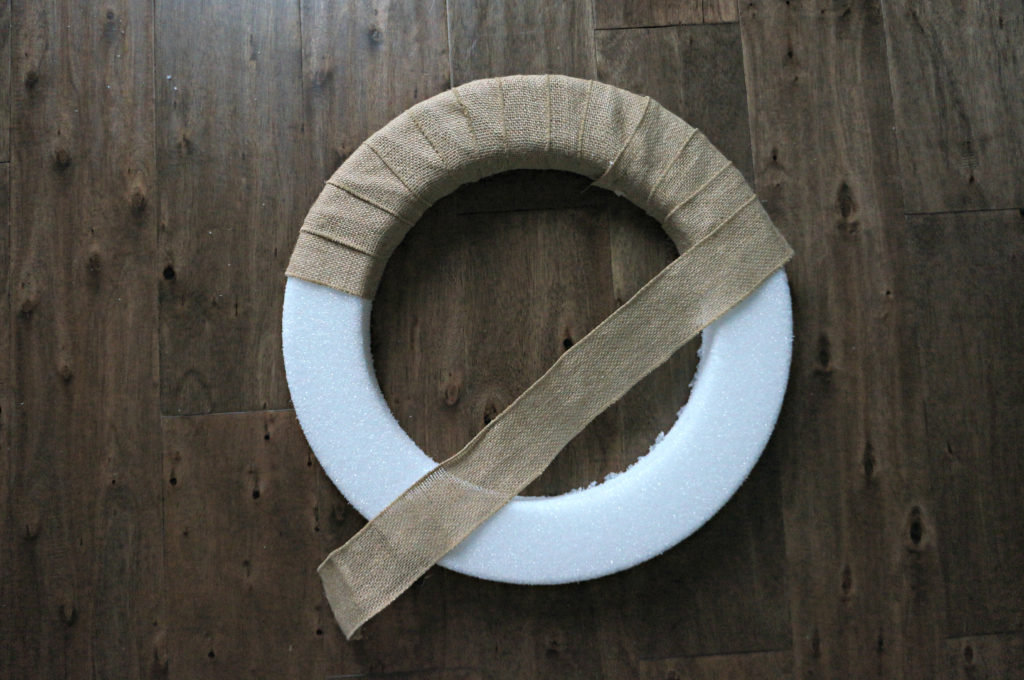
Secure the ribbon ends with boutonniere pins.
To make the 5 x 5 burlap squares: grab the cutting mat, rotary scissors or fabric scissors and ruler (ruler not shown in pic.)
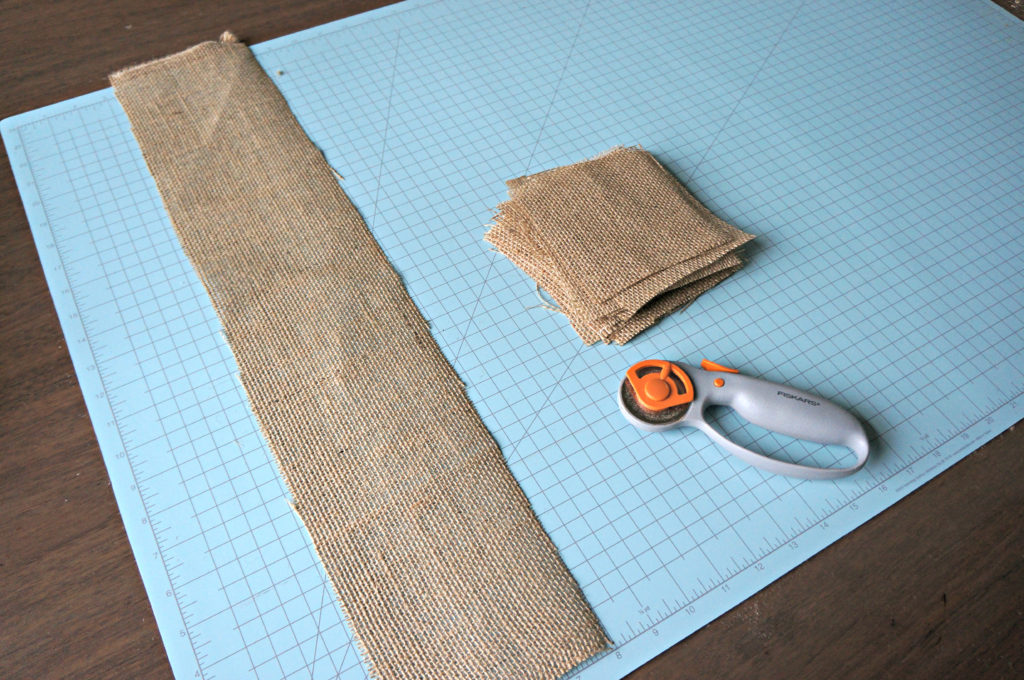
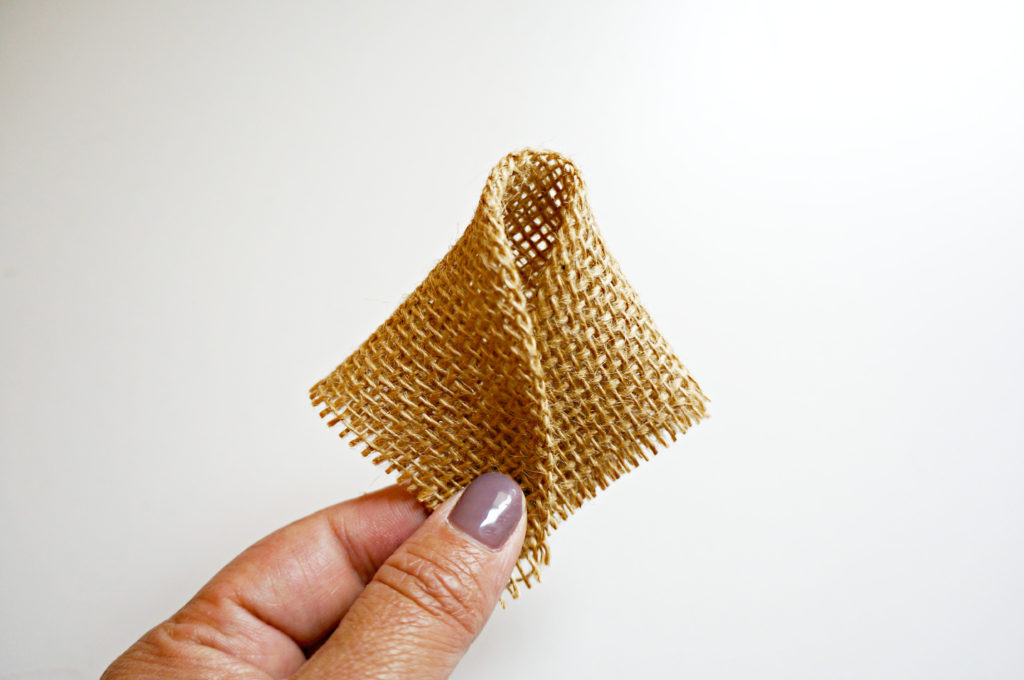
Once all 90 squares have been cut, then take one of the squares and fold it in half.
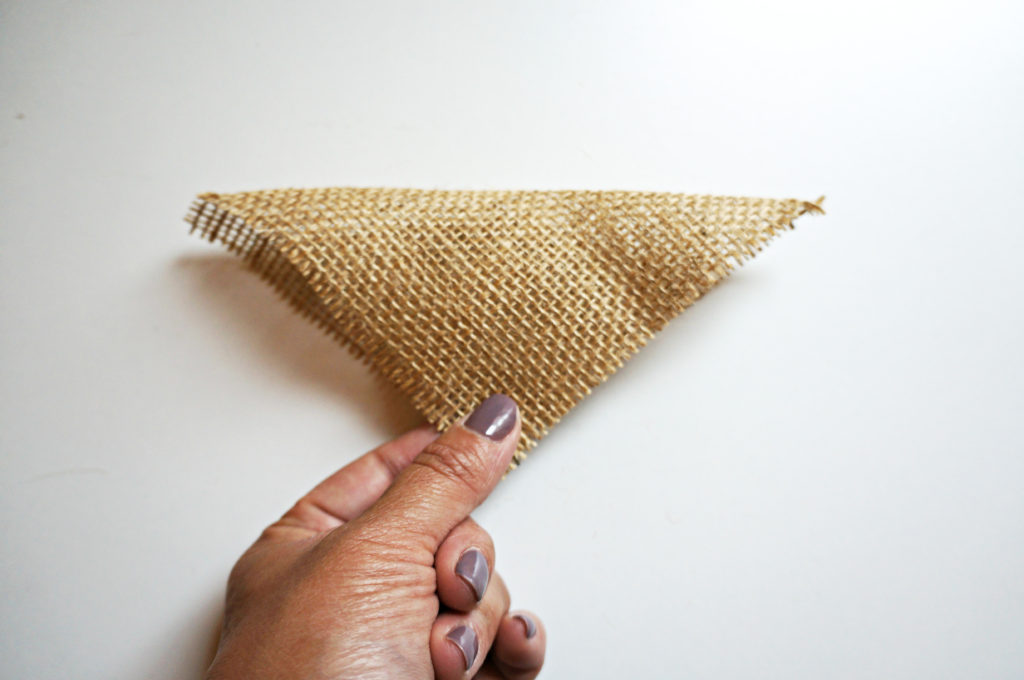
Fold the right corner down.
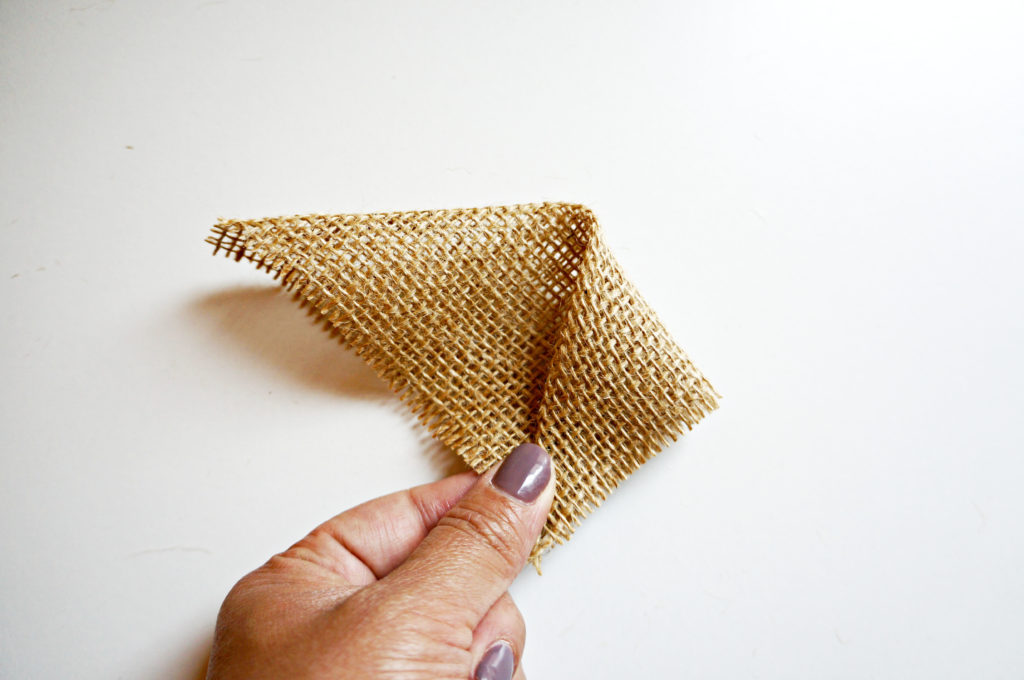
Fold the left corner down.
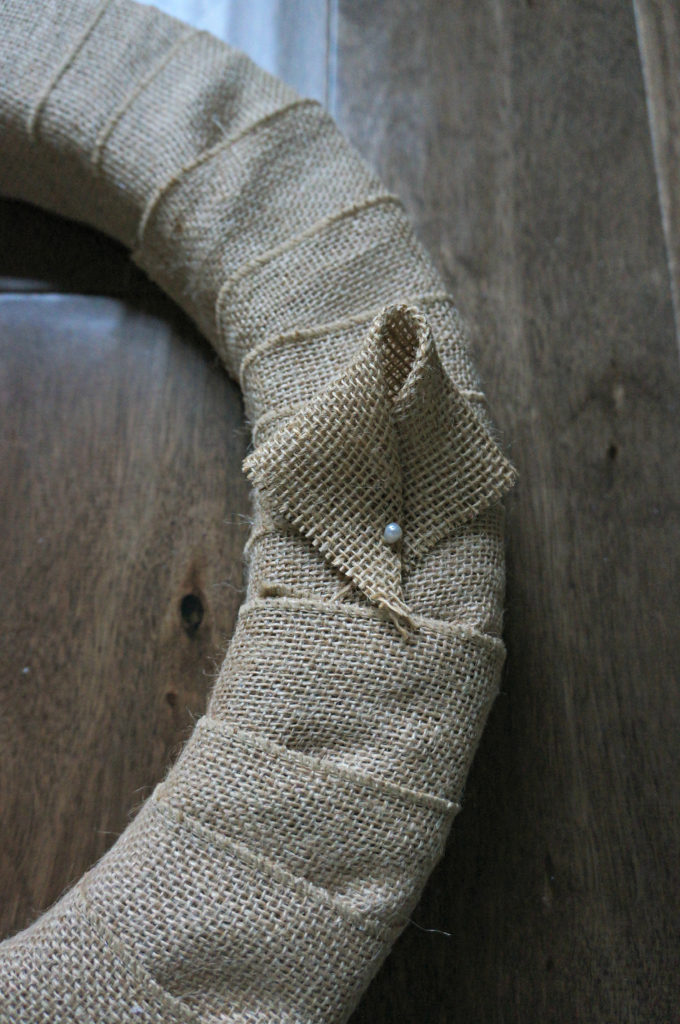
Secure petal to the foam with a boutonniere pin in the centermost section.
Repeat the steps by laying each petal just over the pin from the previous petal.
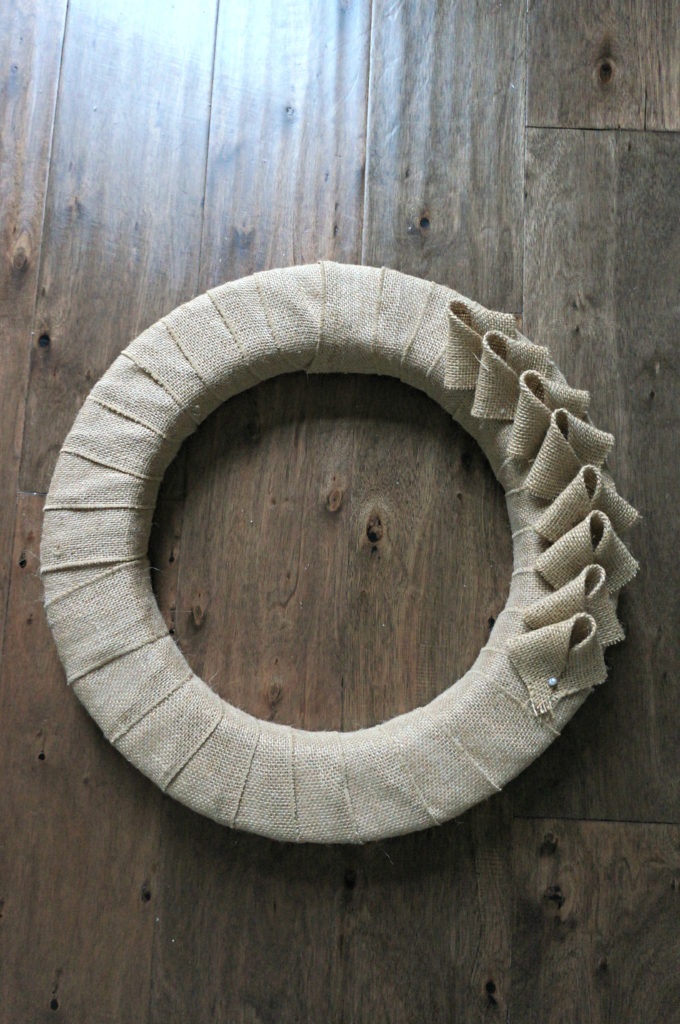
The first row is now complete.
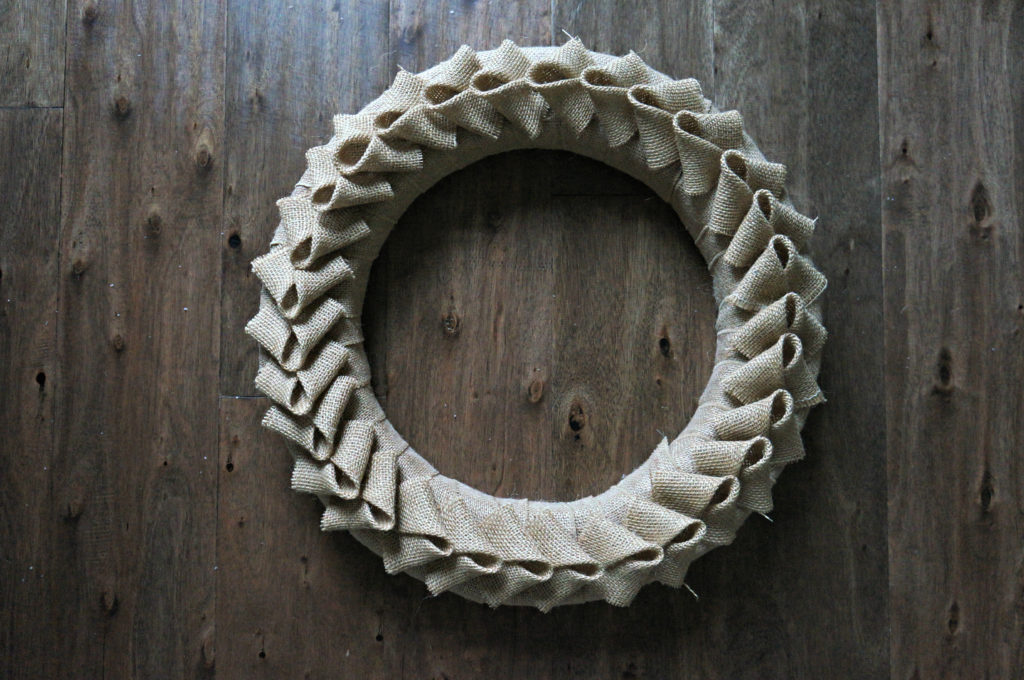
Now it’s time to work on the outermost row. Secure a petal in between each centered petal.
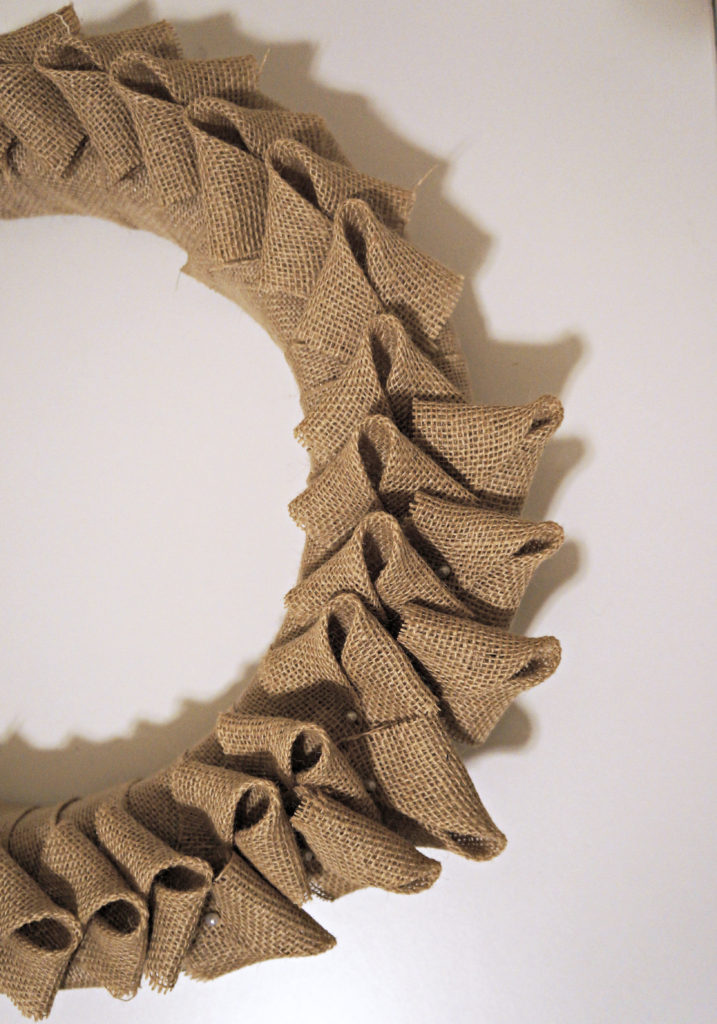
Repeat until the outer row is complete.
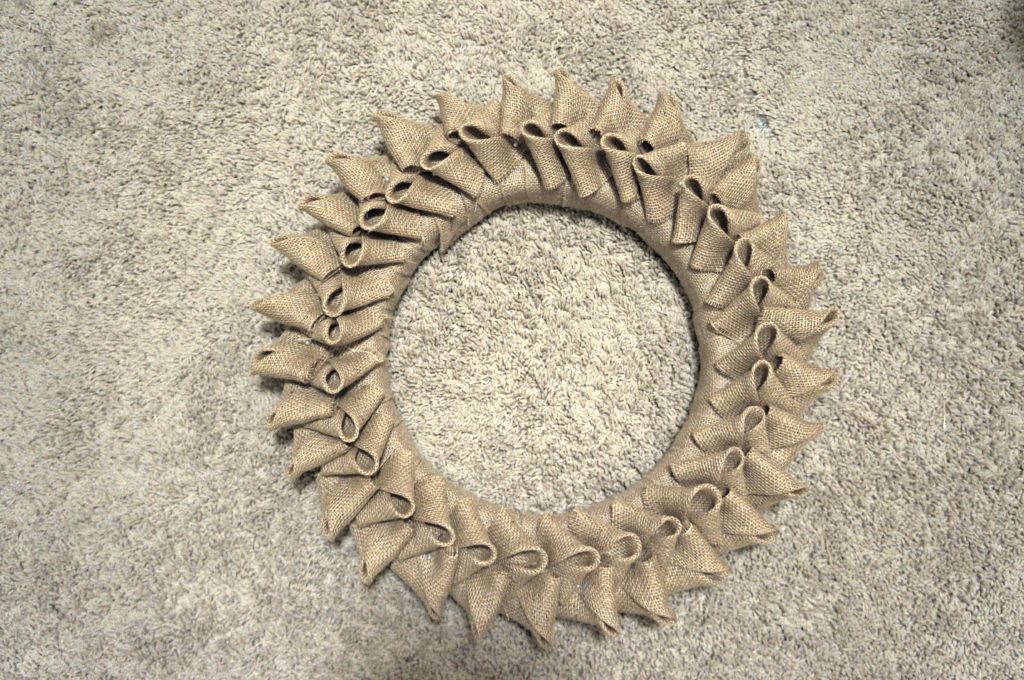
Now repeat the steps for the innermost layer.
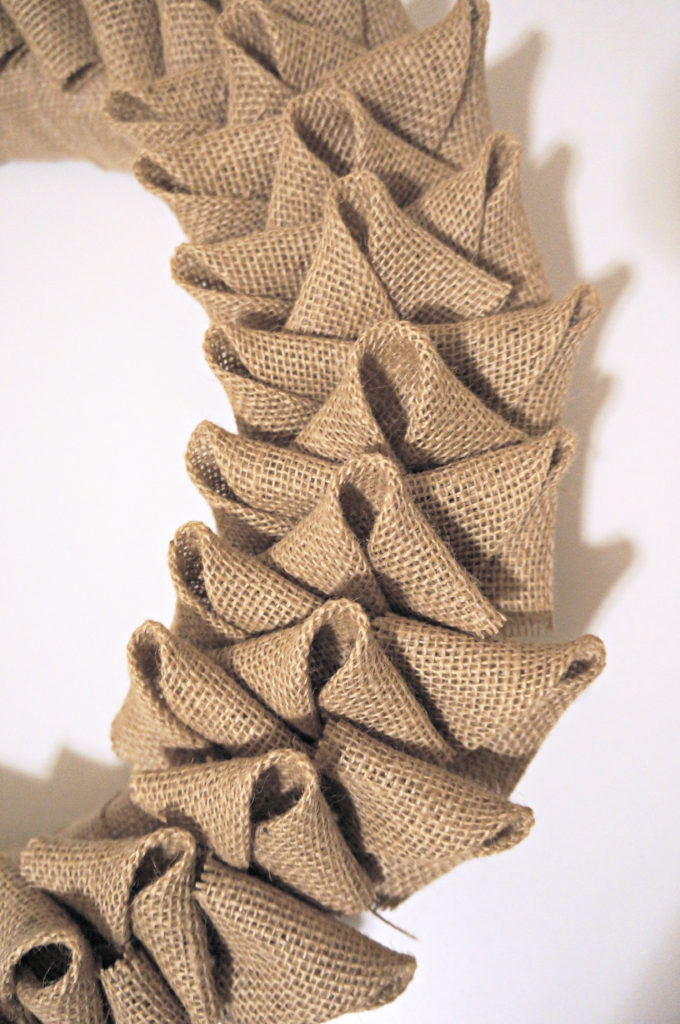
Here is the look when all 3 rows are complete.
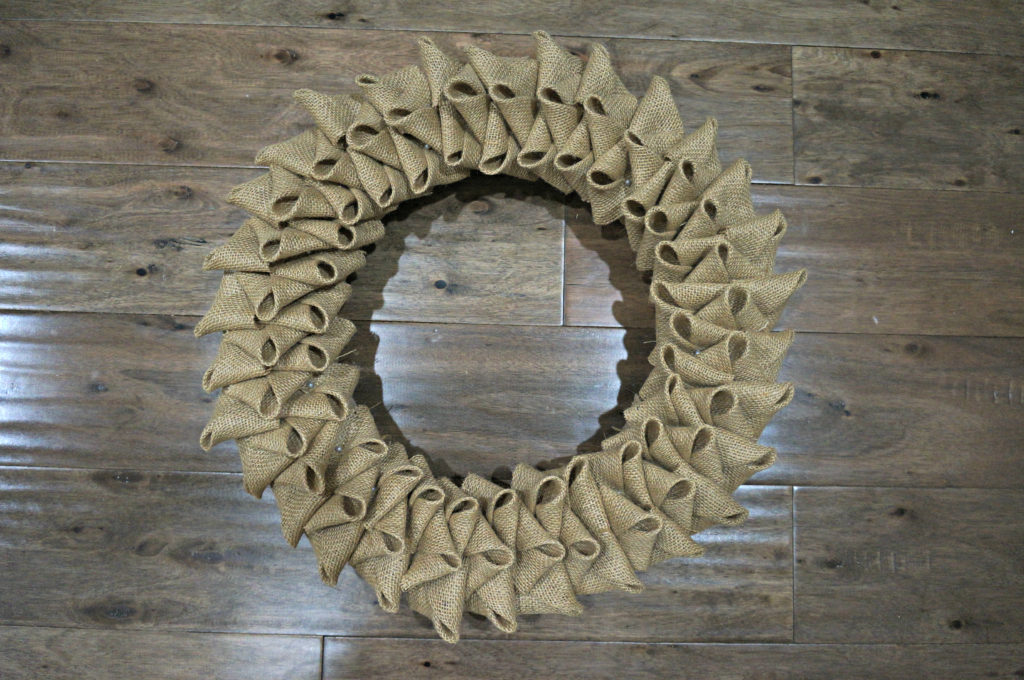
Now gather the floral stems that are being used to decorate and secure the stems on to the wreath with floral wire.
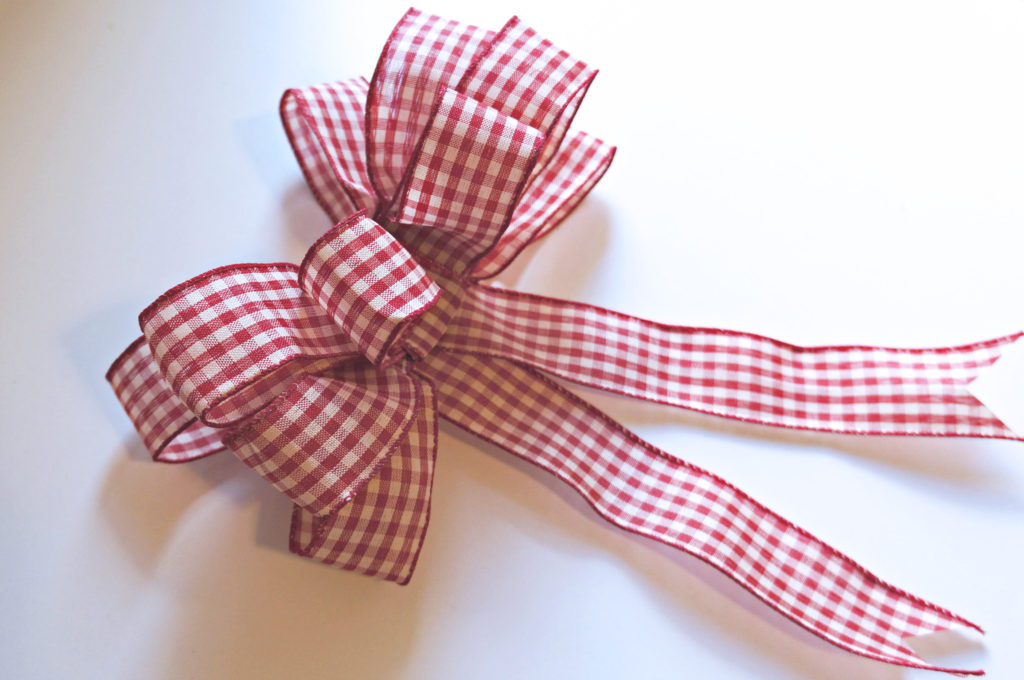
Now I am going to show you the cheater’s way of making a bow!
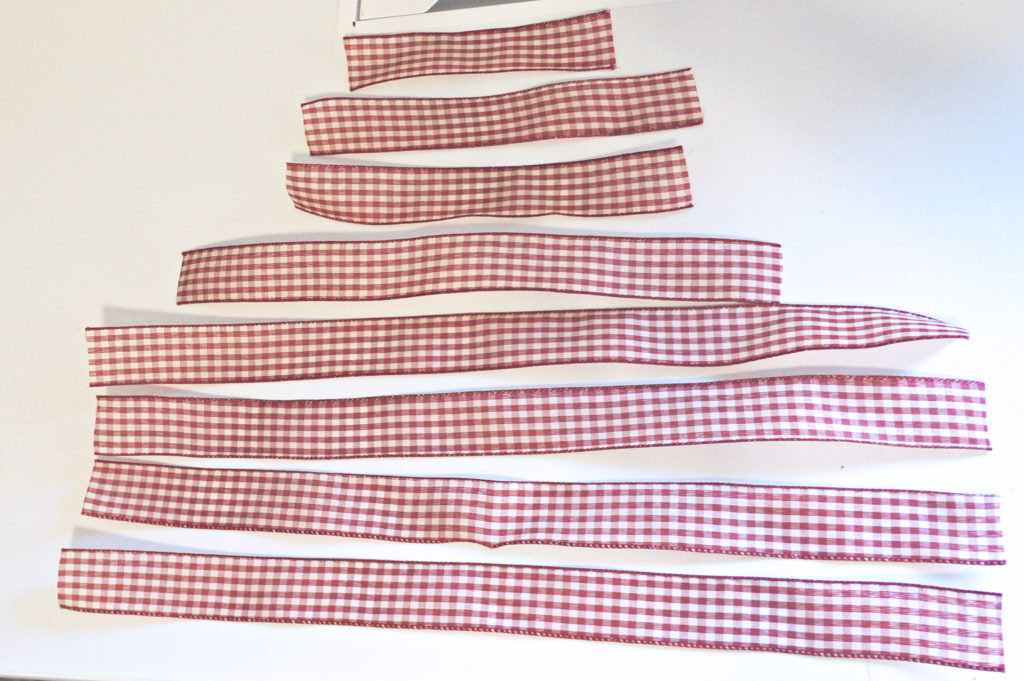
For the bow, cut 8 stripes of the wired ribbon. Wired ribbons are easier to use to make bows because it is easier to manipulate.
Strip measurements: 1st – 7 inches, 2nd & 3rd – 10 inches, 4th – 15 inches, 5th to 8th – 20 inches.
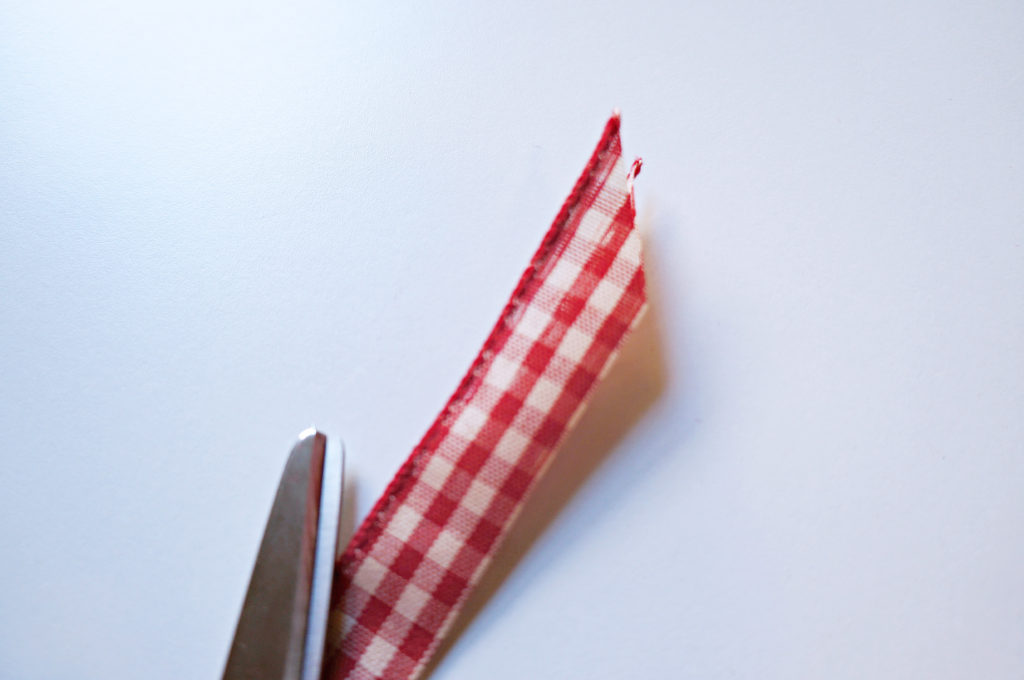
Fold strip # 2 in half and diagonally cut the end.
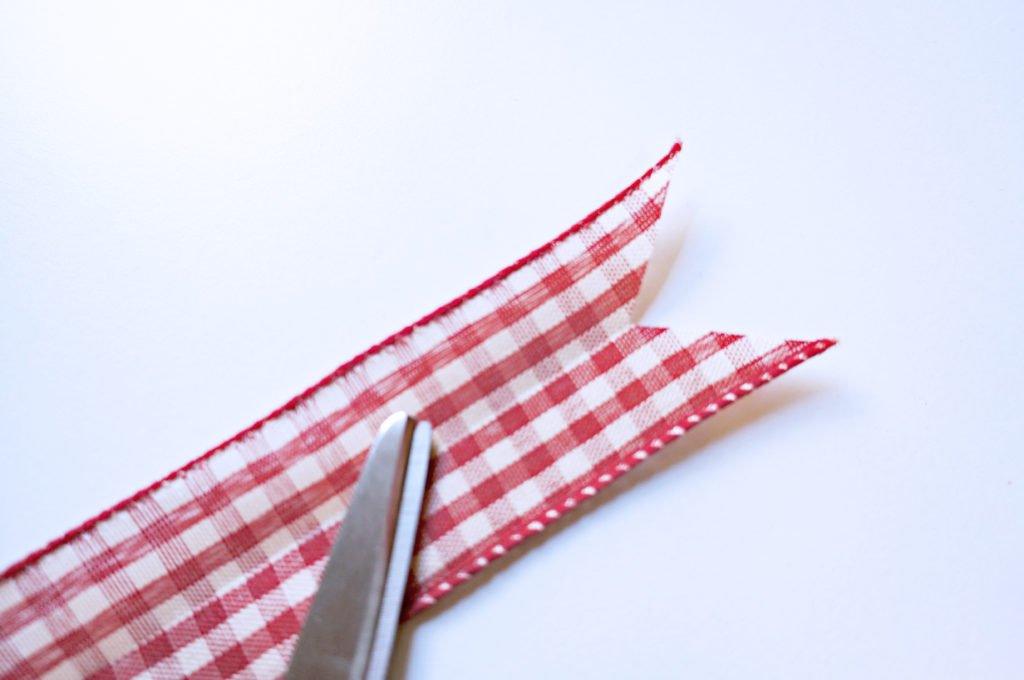
A tail appears when the ribbon is opened. Repeat steps for strip # 3.
Take ribbons # 4 to 8 and fold the ends to the middle.
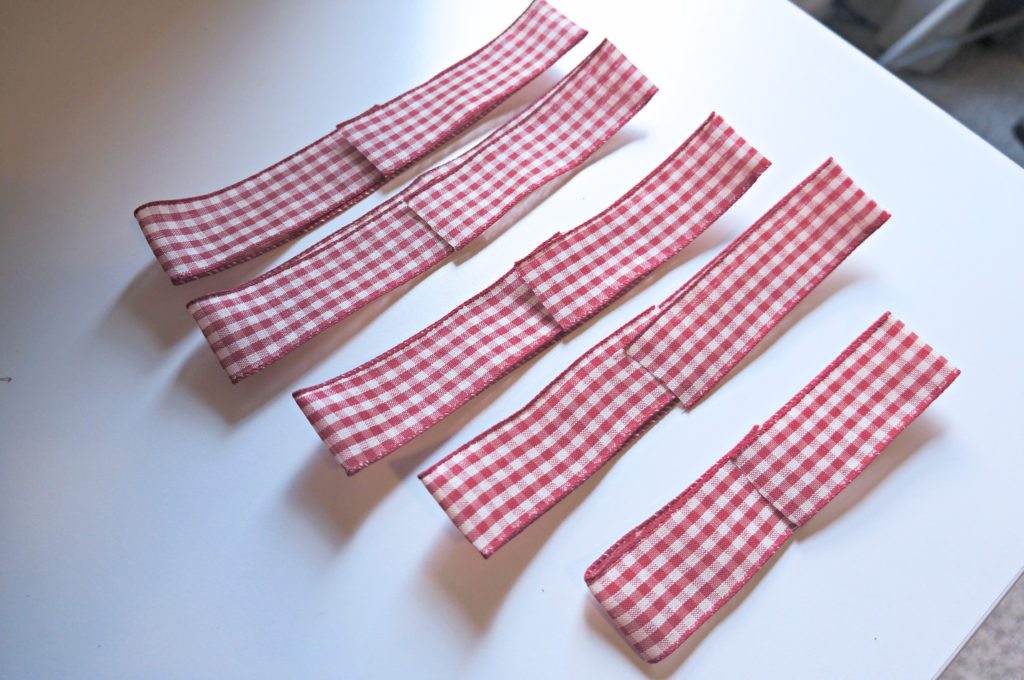
Stack ribbons # 4 to 8 on top of each other with the smallest on top.
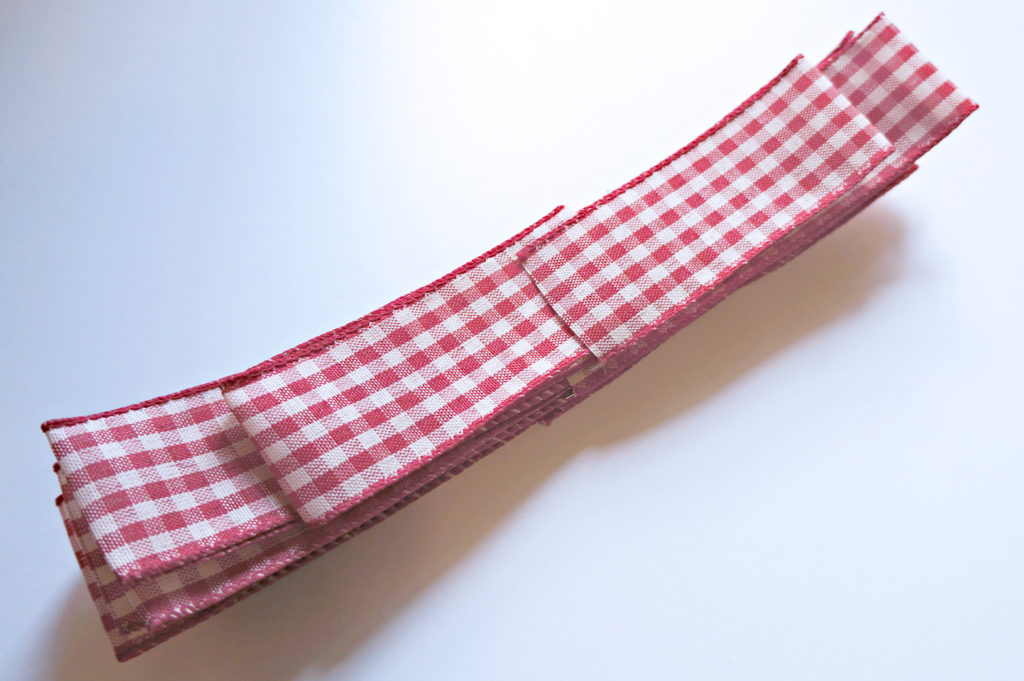
Vertically wrap the 1st ribbon around the body of the bow.
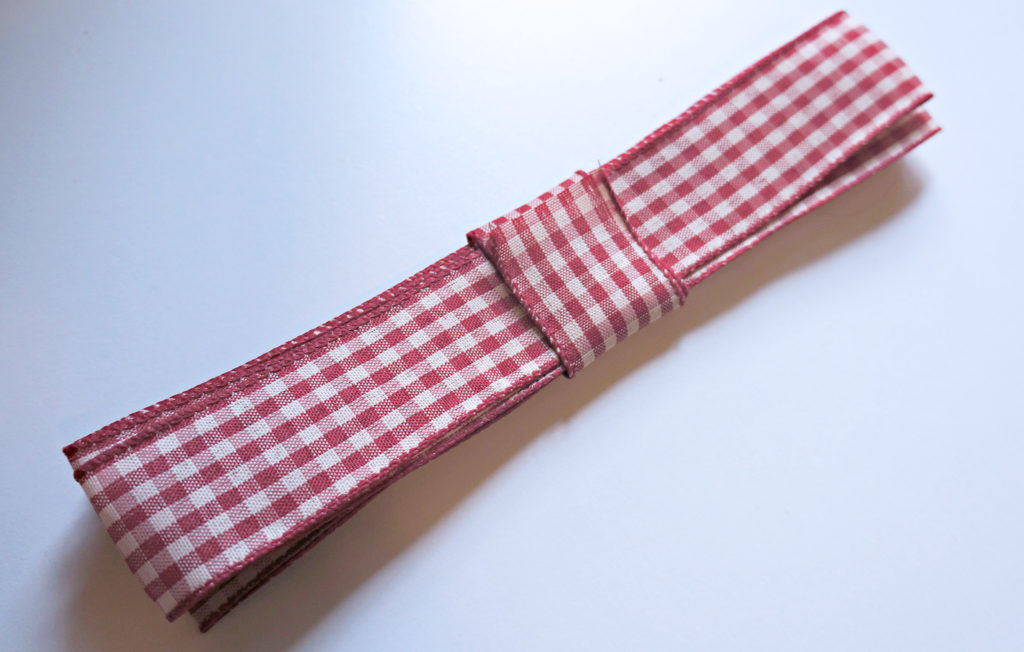
Secure the tail to the back of the bow with a pin or hot glue. I used a pin so that I could easily adjust if needed.
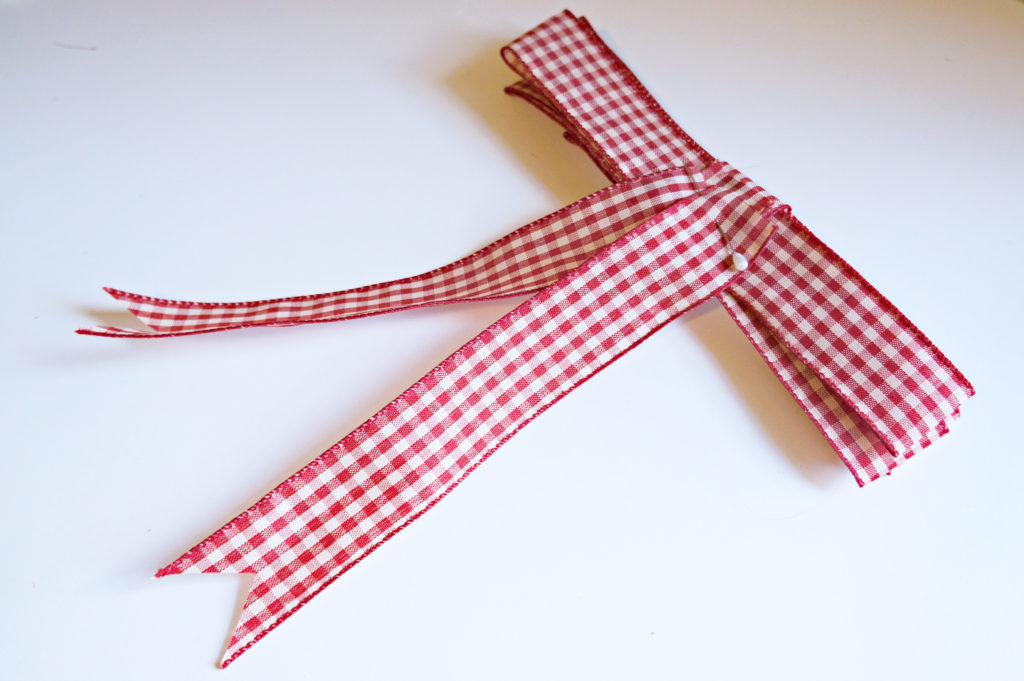
Flip the bow back to the front and puff out the loops with your fingers. Secure the bow onto the wreath with a pin. You may use a hot glue gun instead of a boutonniere pin in any of these steps.
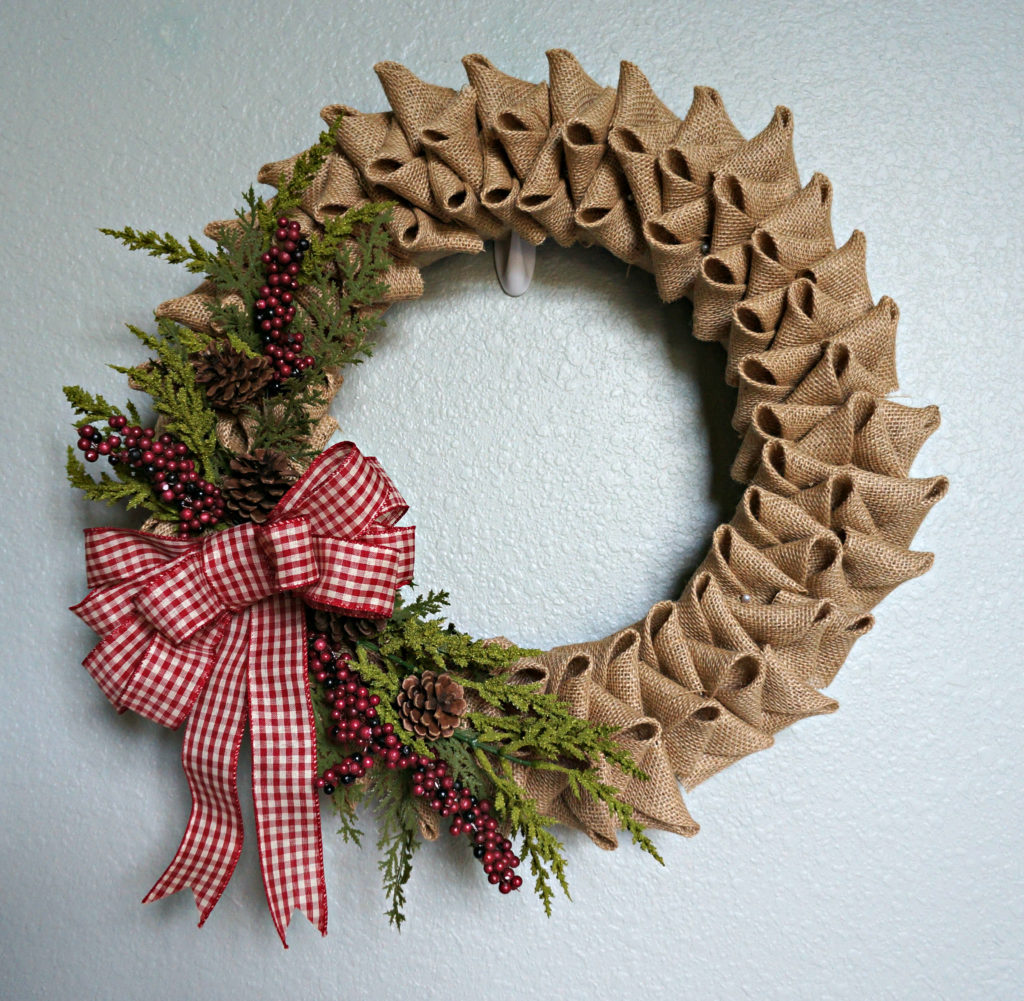
Finally here is the finish piece!

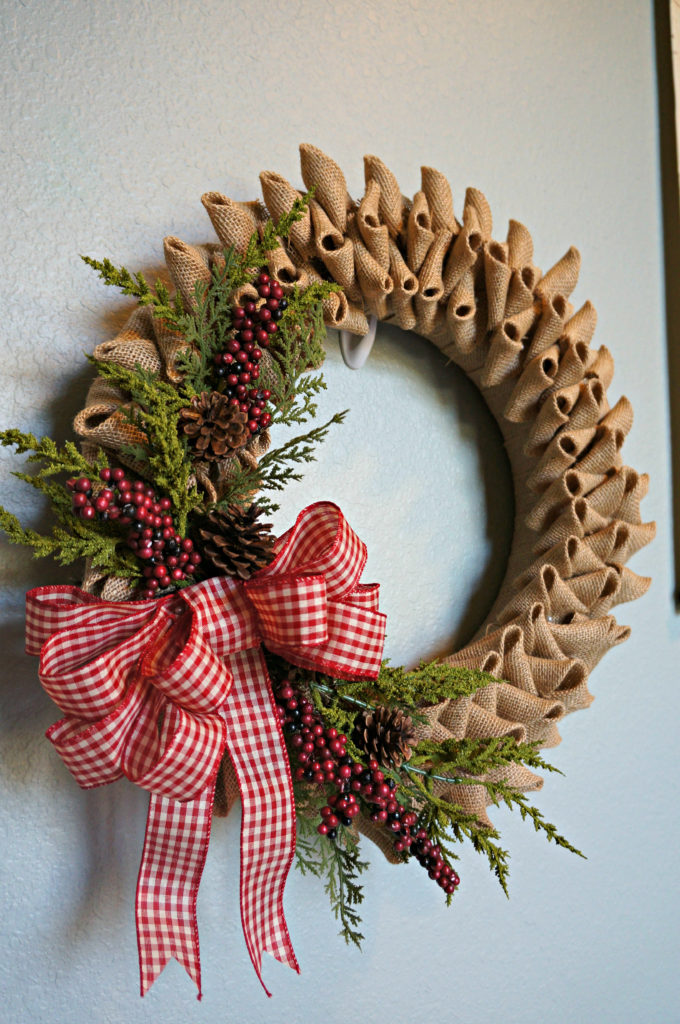
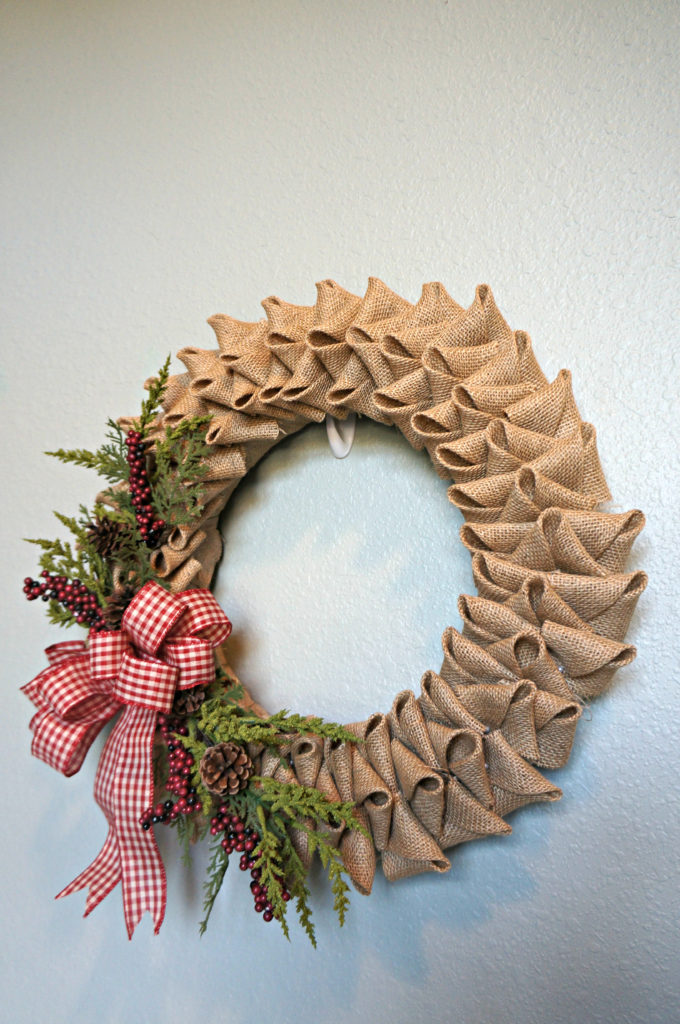
I hope you enjoy making this wreath!
